i-doit
The individual functions on the part of i-doit are explained in more detail here.
Export
In order to be able to create data sets in the ScanIT mobile application, customised profiles must be created in i-doit beforehand. These are used by the app for further processing. Each attribute selected in i-doit specifies a line in the app’s form.
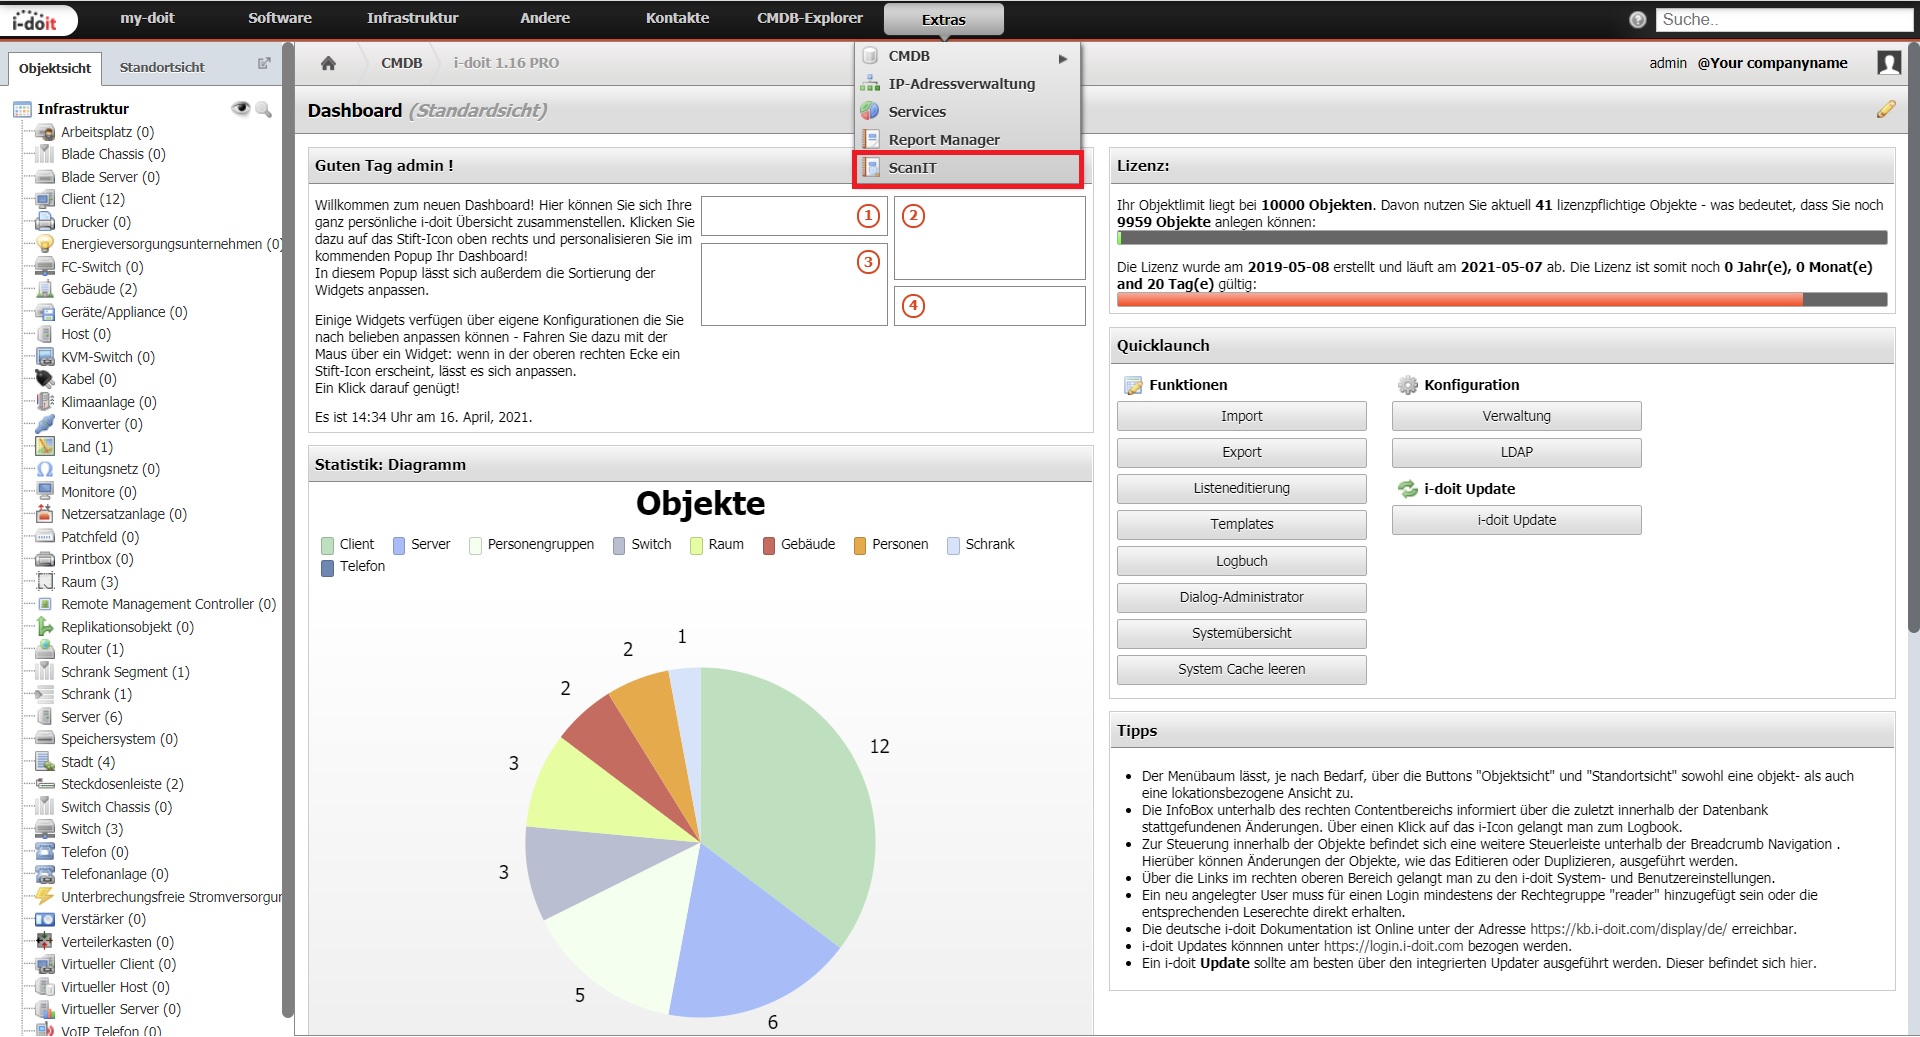
Go to “Extra” at the top right of the tab and click on the “ScanIT” button in the drop-down list.
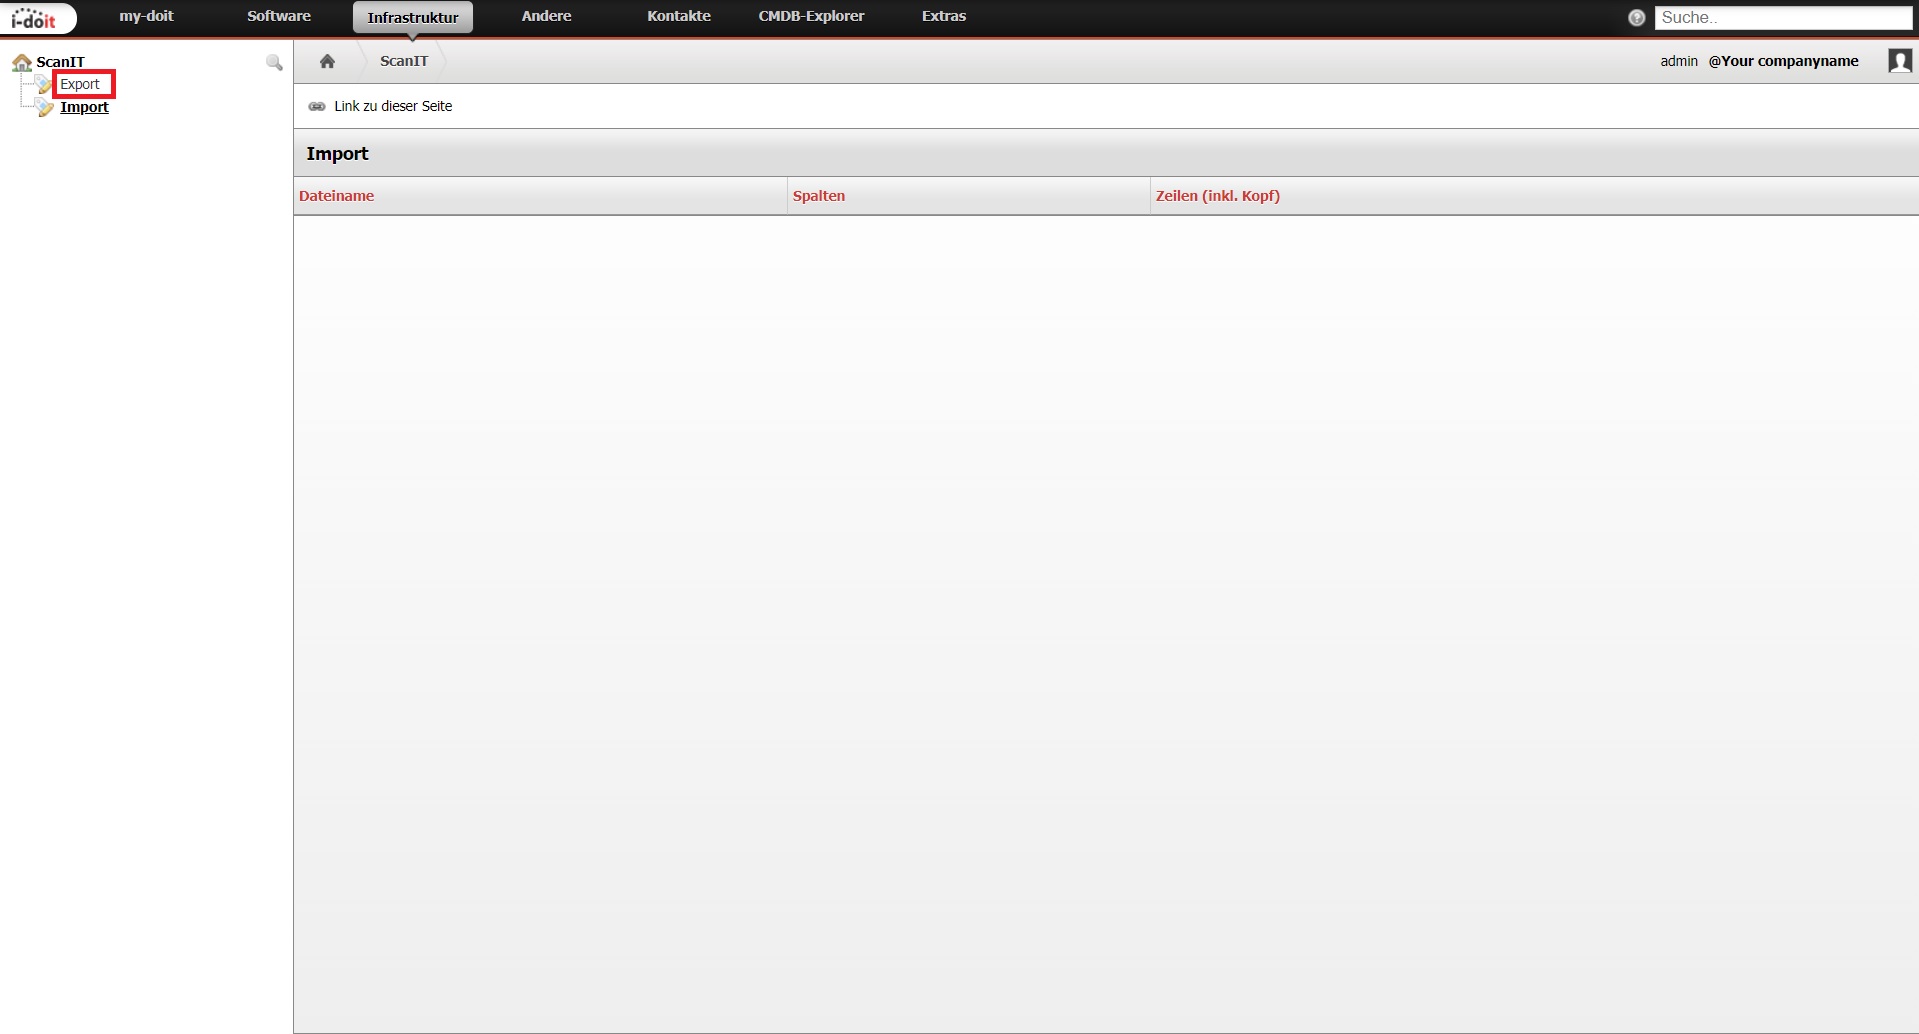
You are now on the import page. Go to the left navigation and select export.
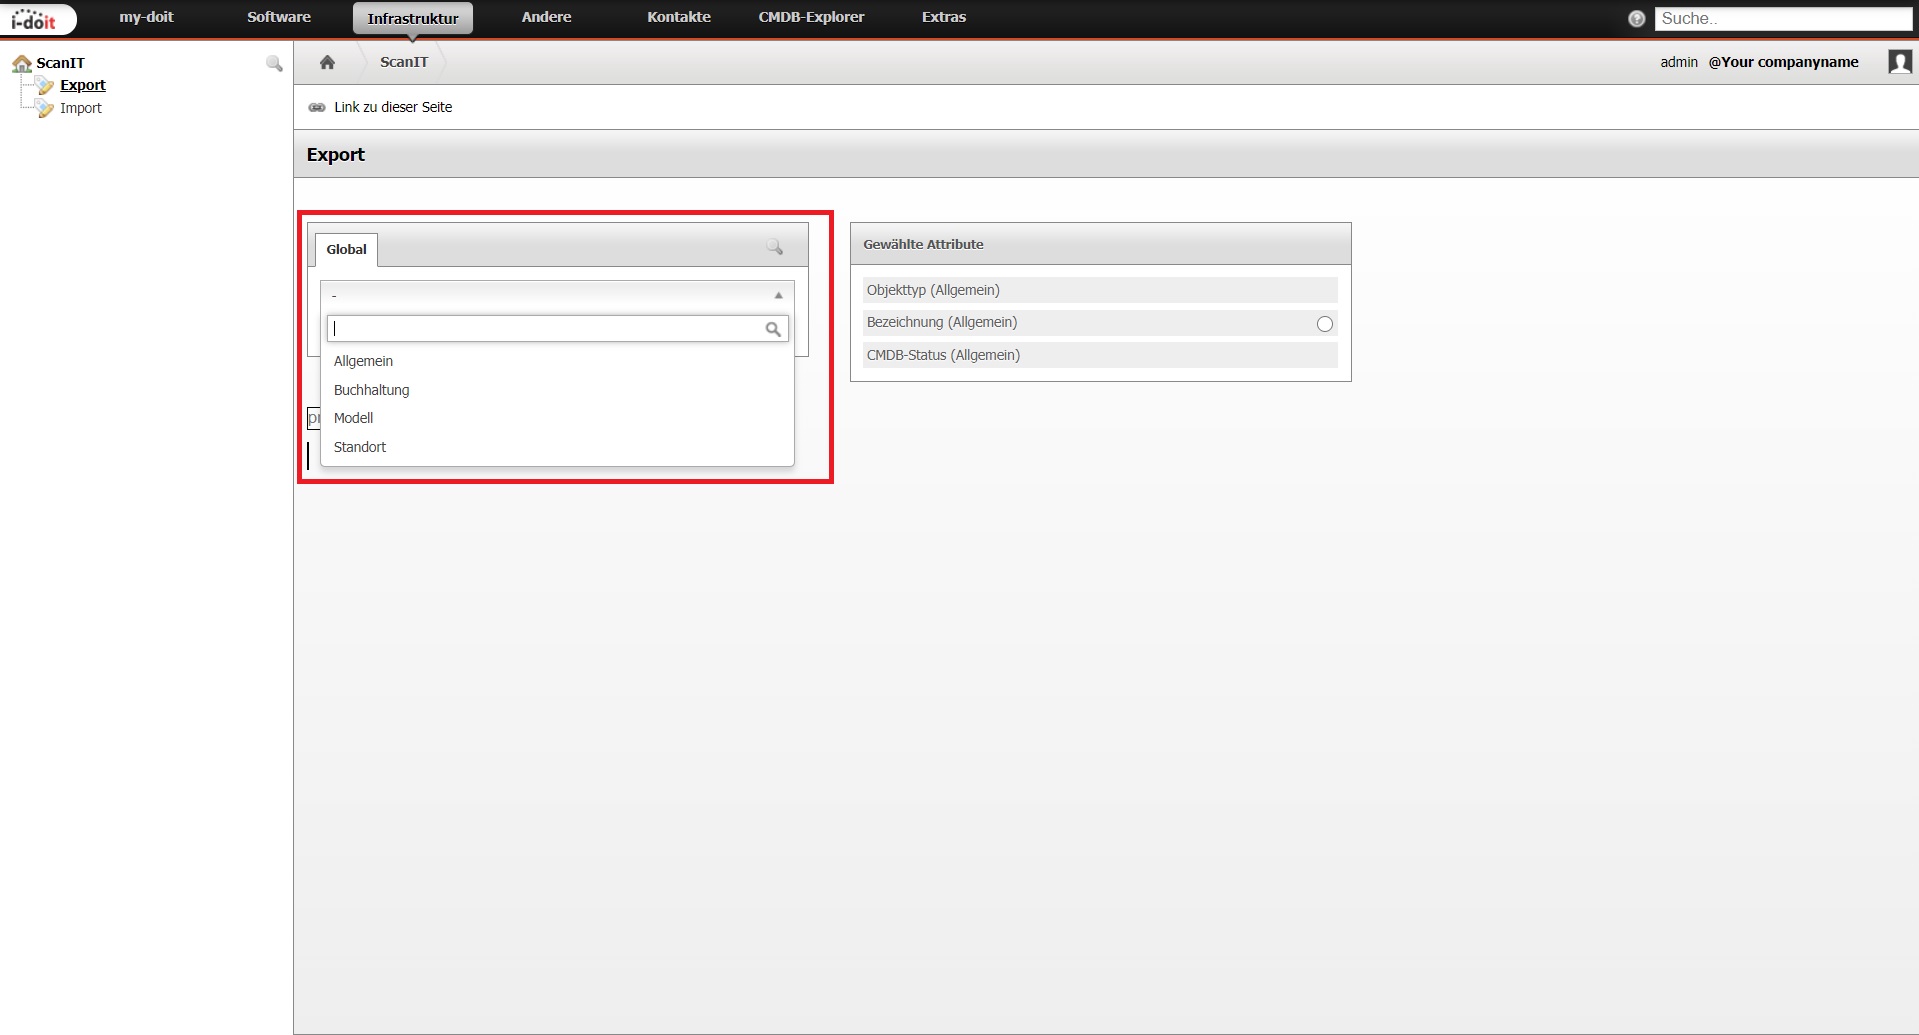
A profile consists of attributes that can be selected from the four predefined categories. Select a category and the available attributes of the category will be displayed.
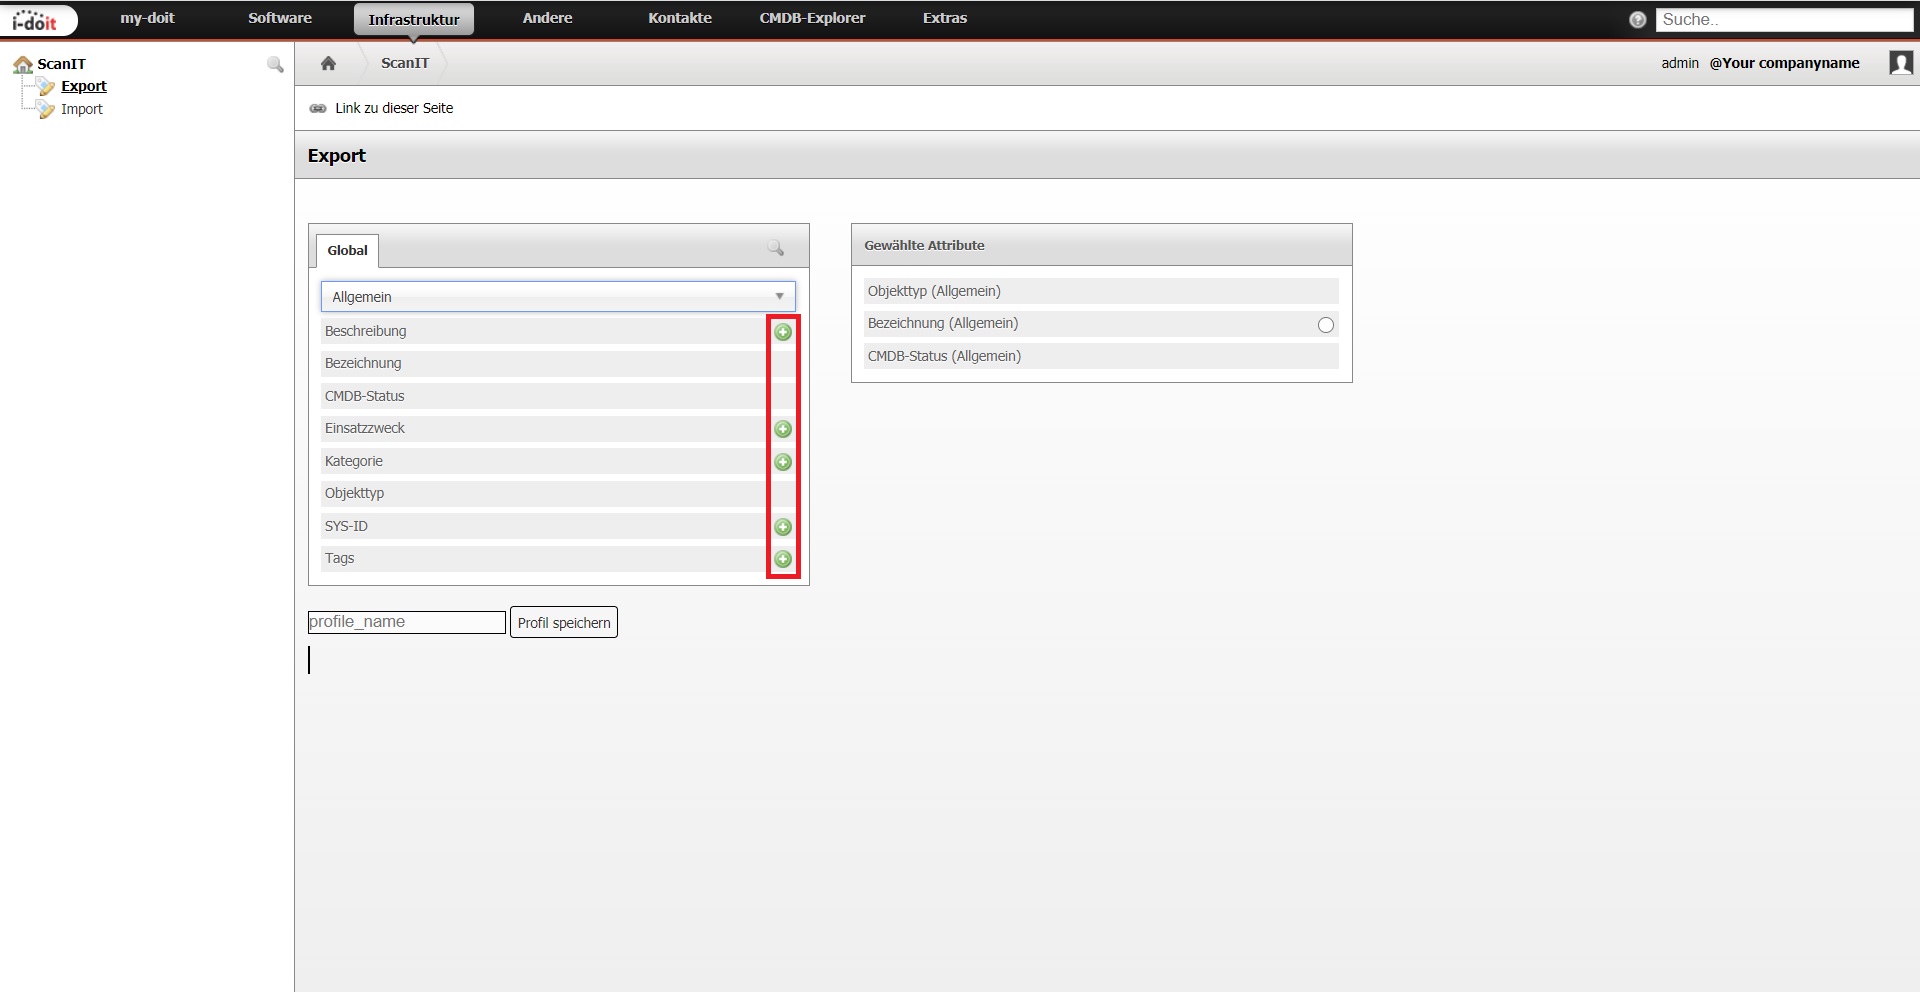
If you want to add an attribute to the profile, click on the “+” button. The + button disappears and the selected attribute is added to the profile in “selected attribute”.
Note
A profile can be compiled from the attributes of various categories.
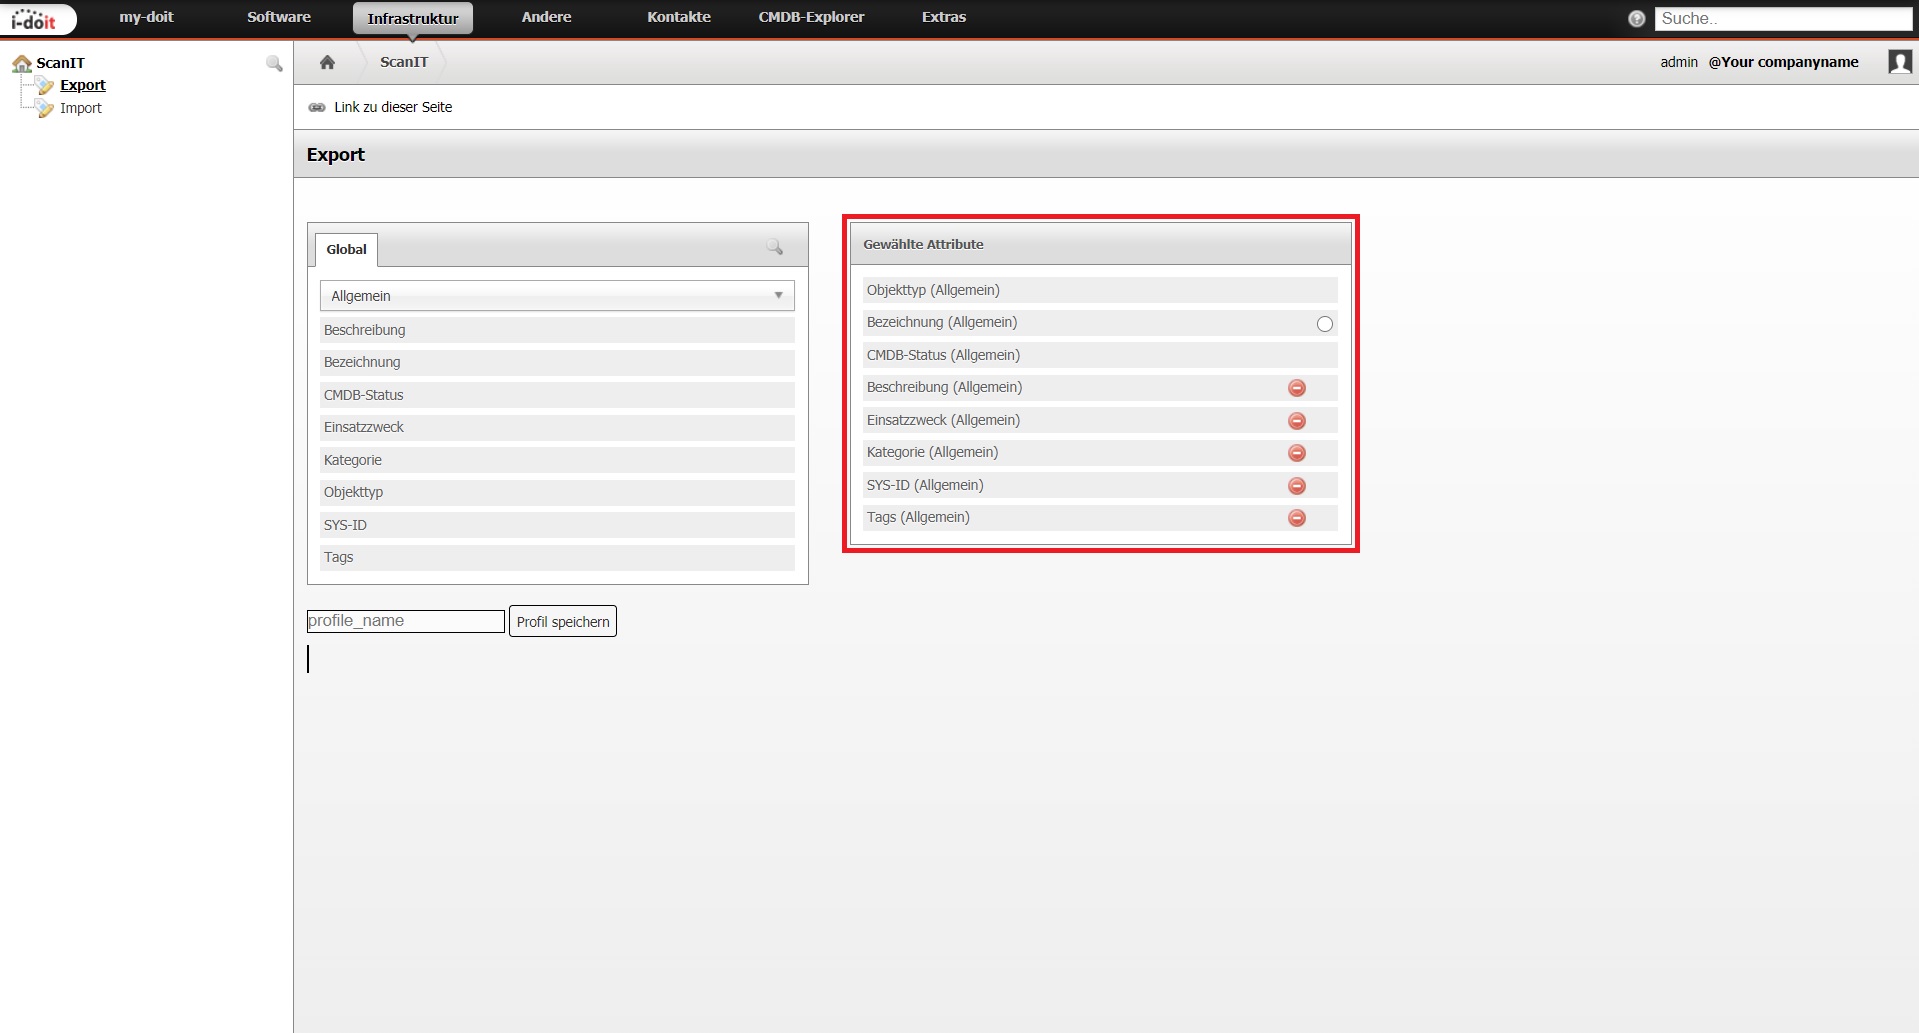
The attribute can be removed again via the “-” button. In this column you will see all the attributes that have been added to the profile.
To the right of an attribute “Bezeichnung” is a checkbox that can be selected. If a checkbox can be selected in the attribute, this is an identifier. If this is selected and an object with the value in this field exists, the object is updated with all values of the dataset.
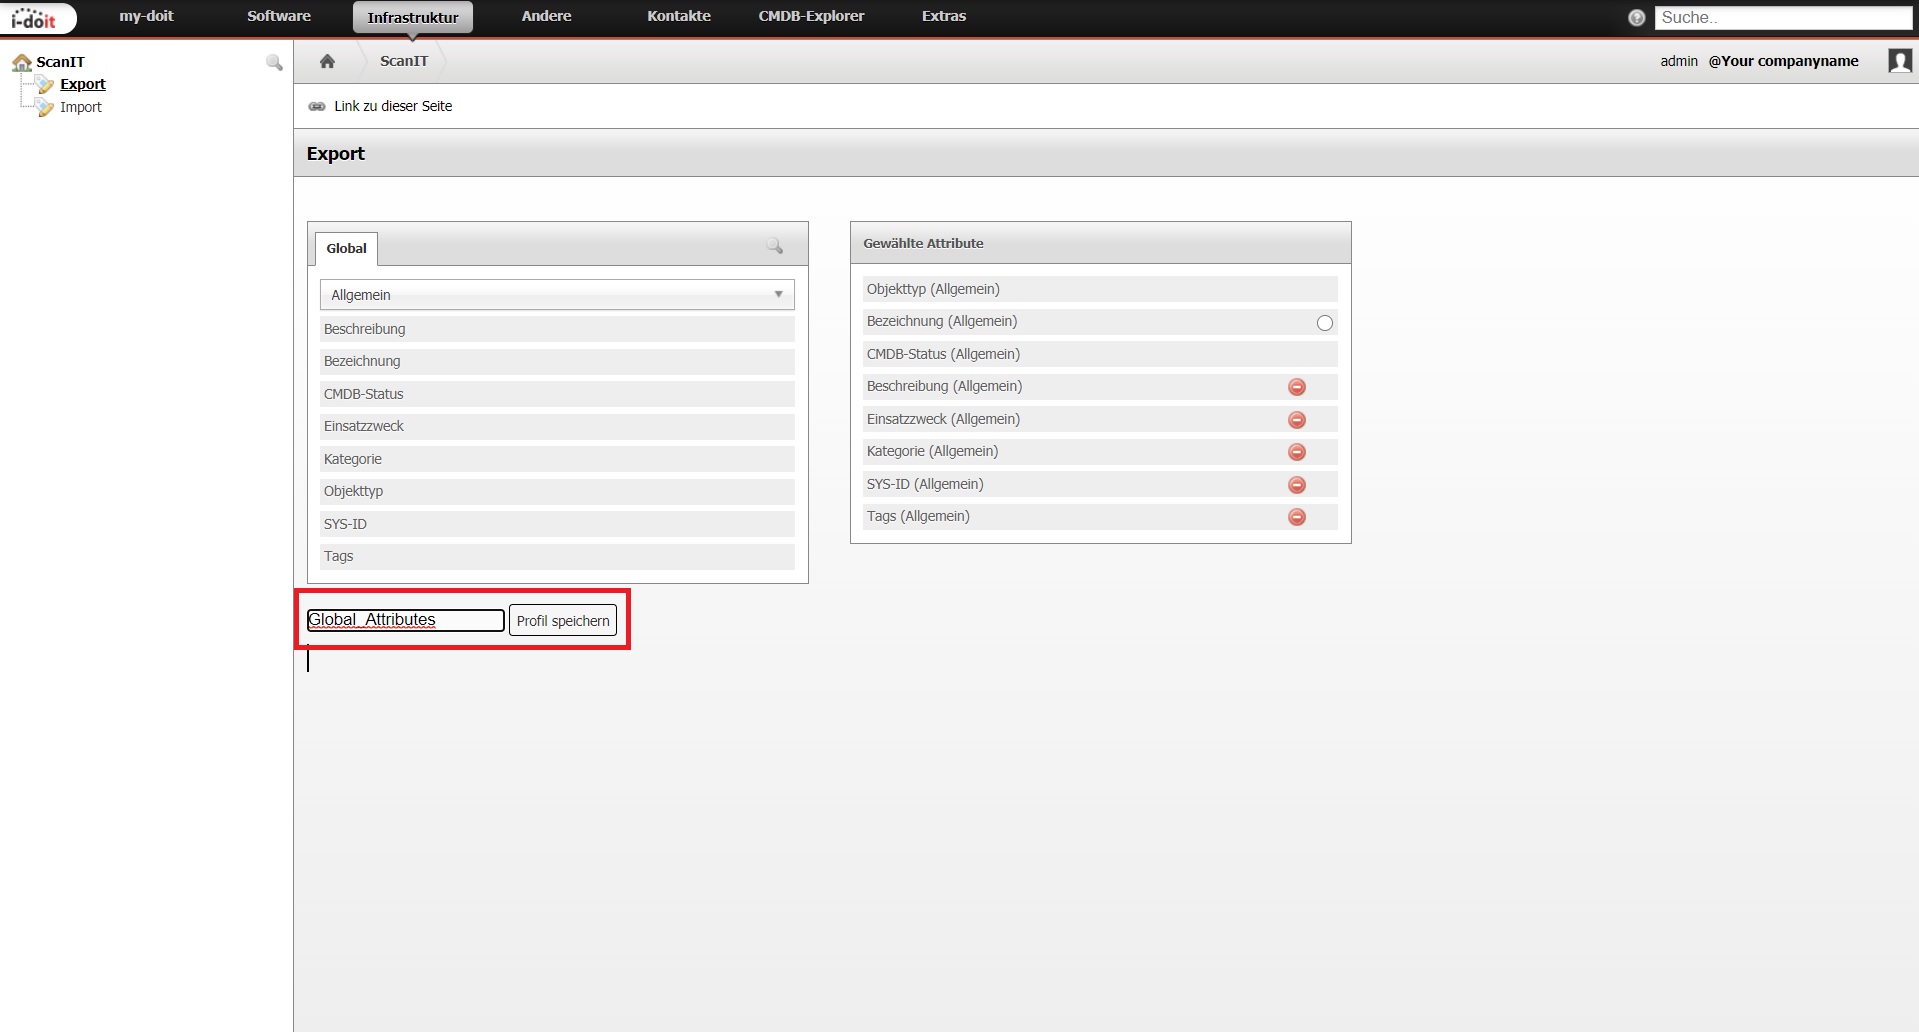
To finally save these attributes in a profile, enter a name in the text field below and click on “Save profile”.
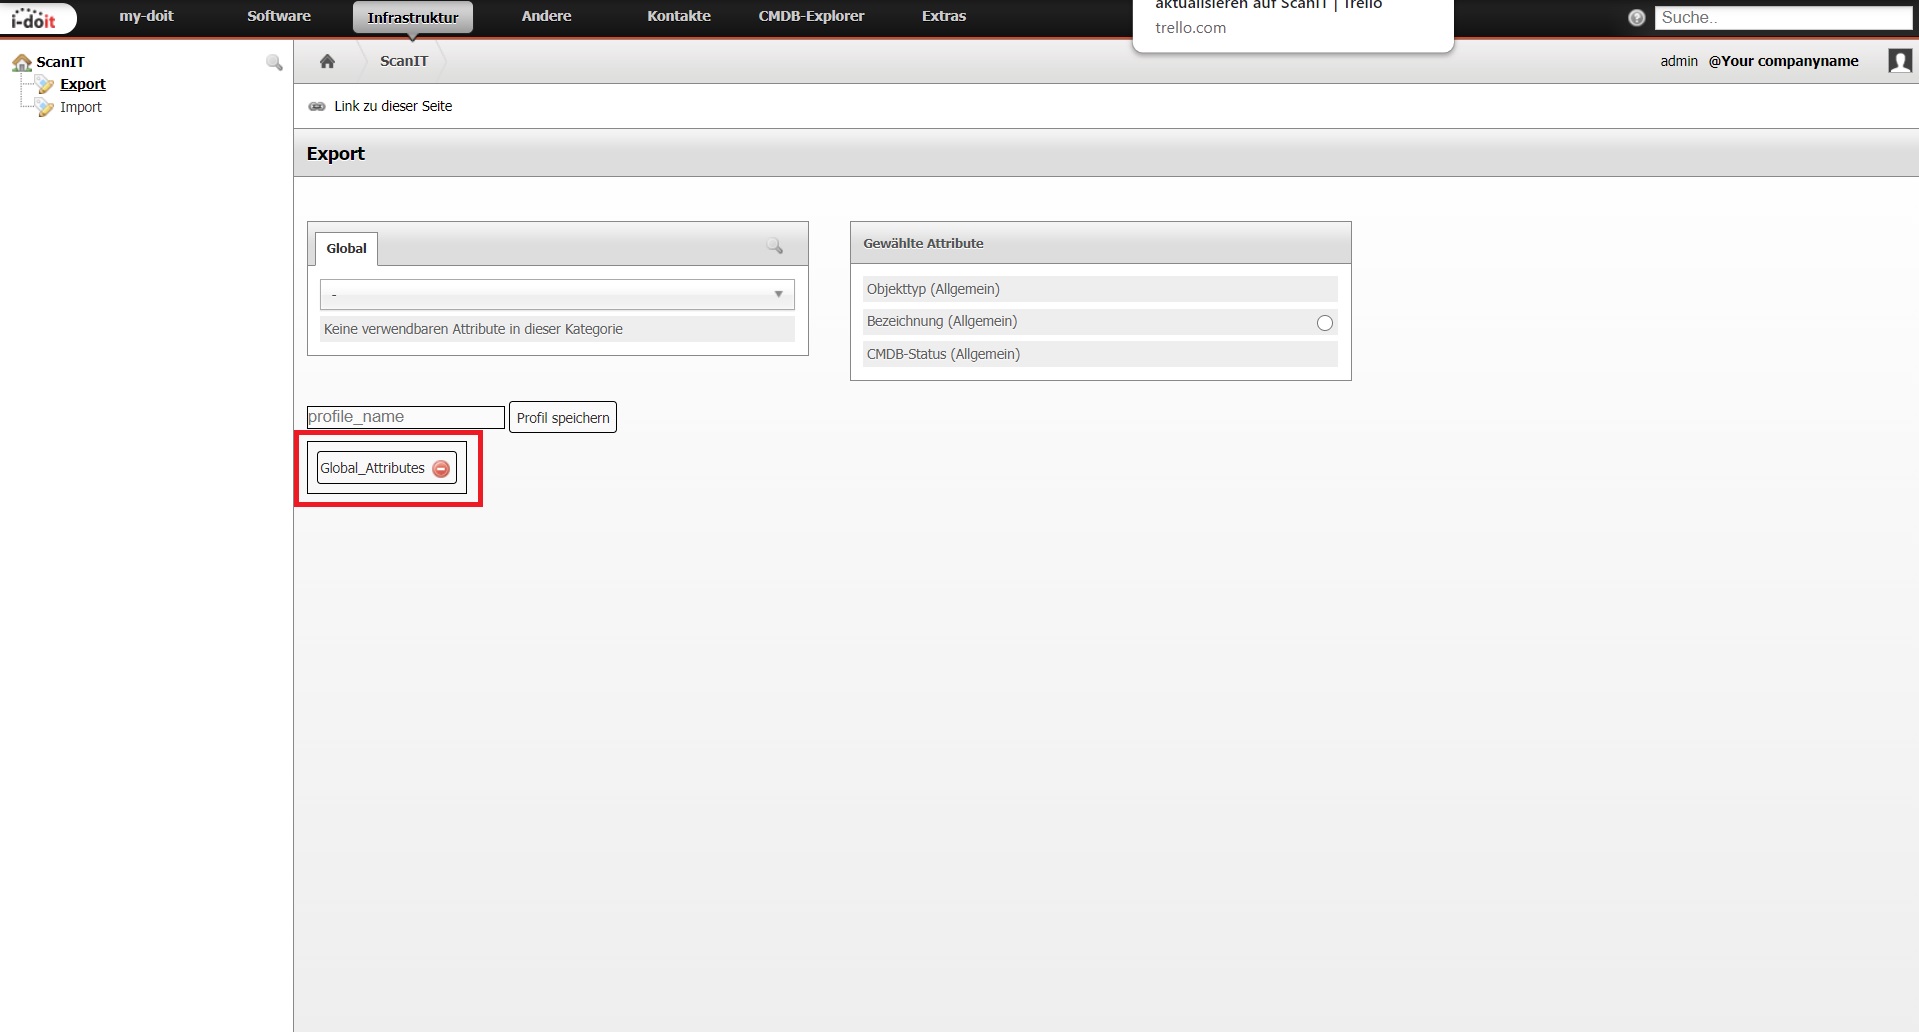
The profile has been created and can now be loaded from the mobile application. The profile can be deleted using the “-” button.
Import
The files sent by the mobile application are managed here. They can be edited subsequently and finally saved in the database.

Click on “Import” in the left-hand navigation.
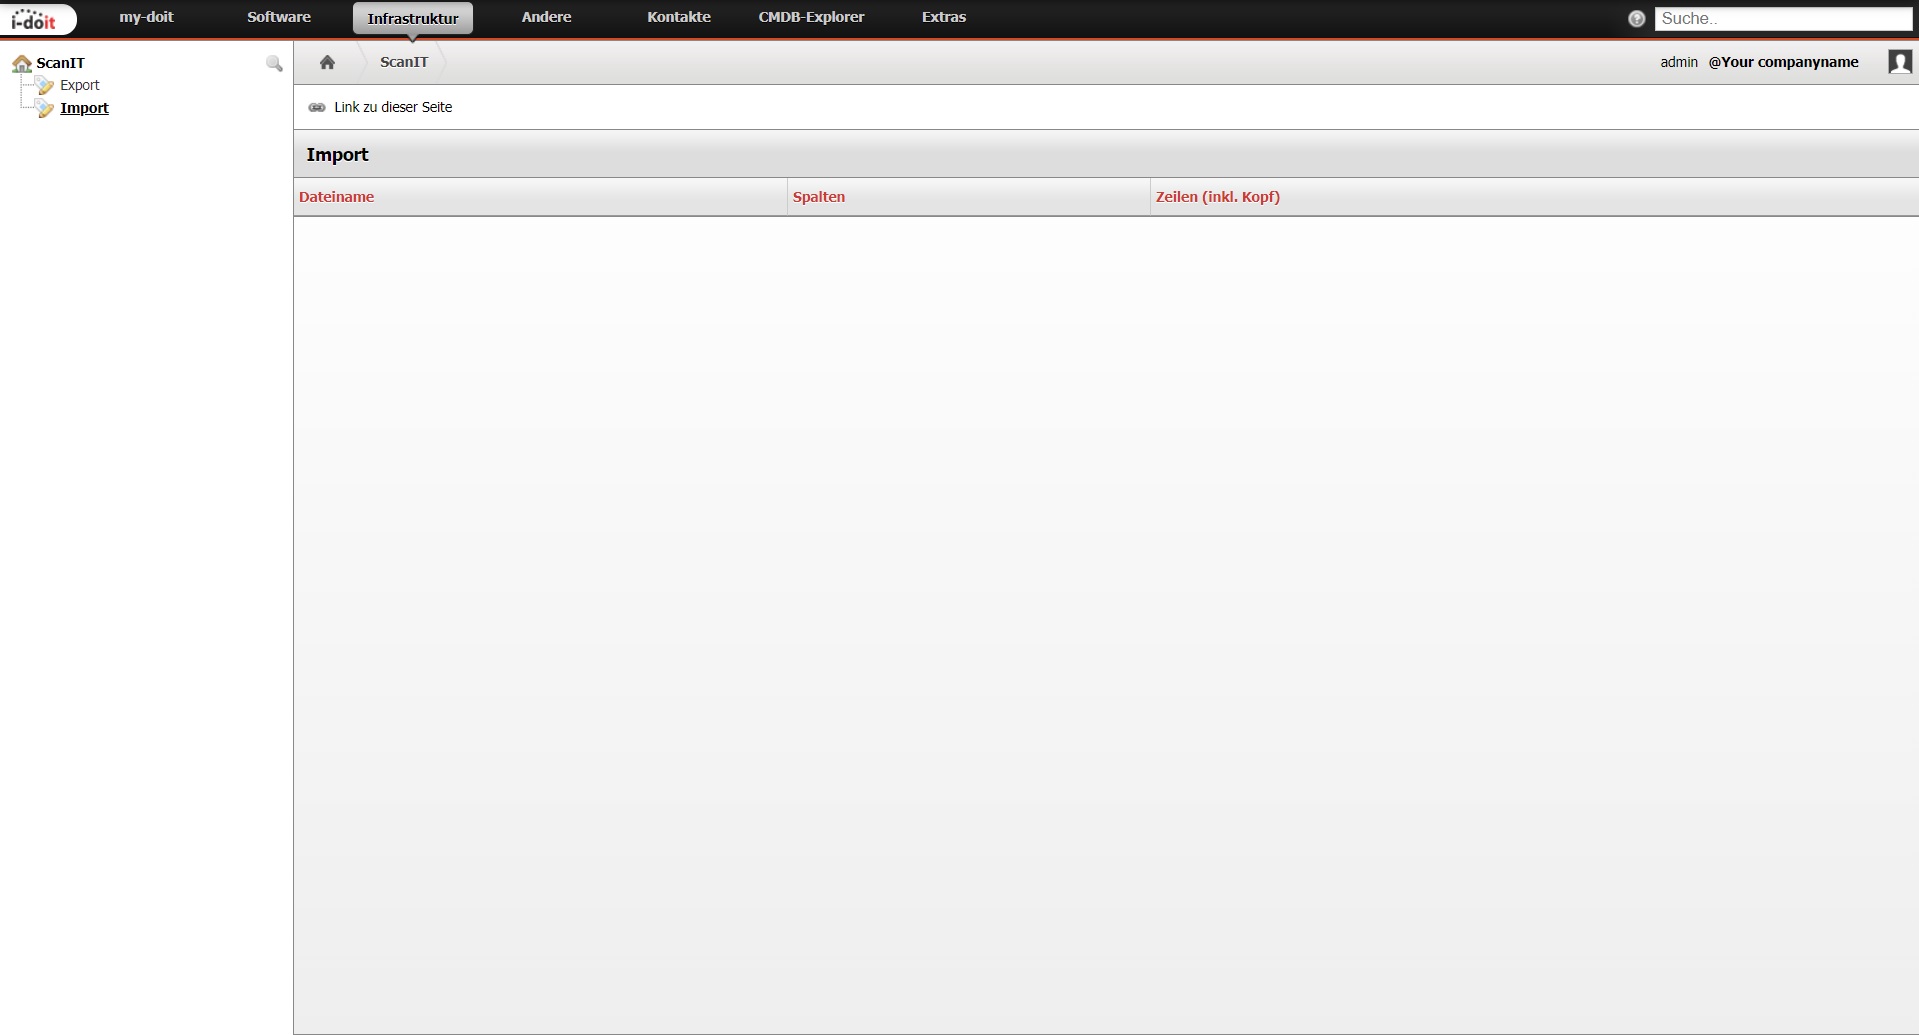
Here you can see the import interface and no import files have been received from the mobile application.

First, a file must be selected in the mobile application and sent to i-doit.

Now this file is displayed in the import and can be selected. Click directly on the file name to open it.
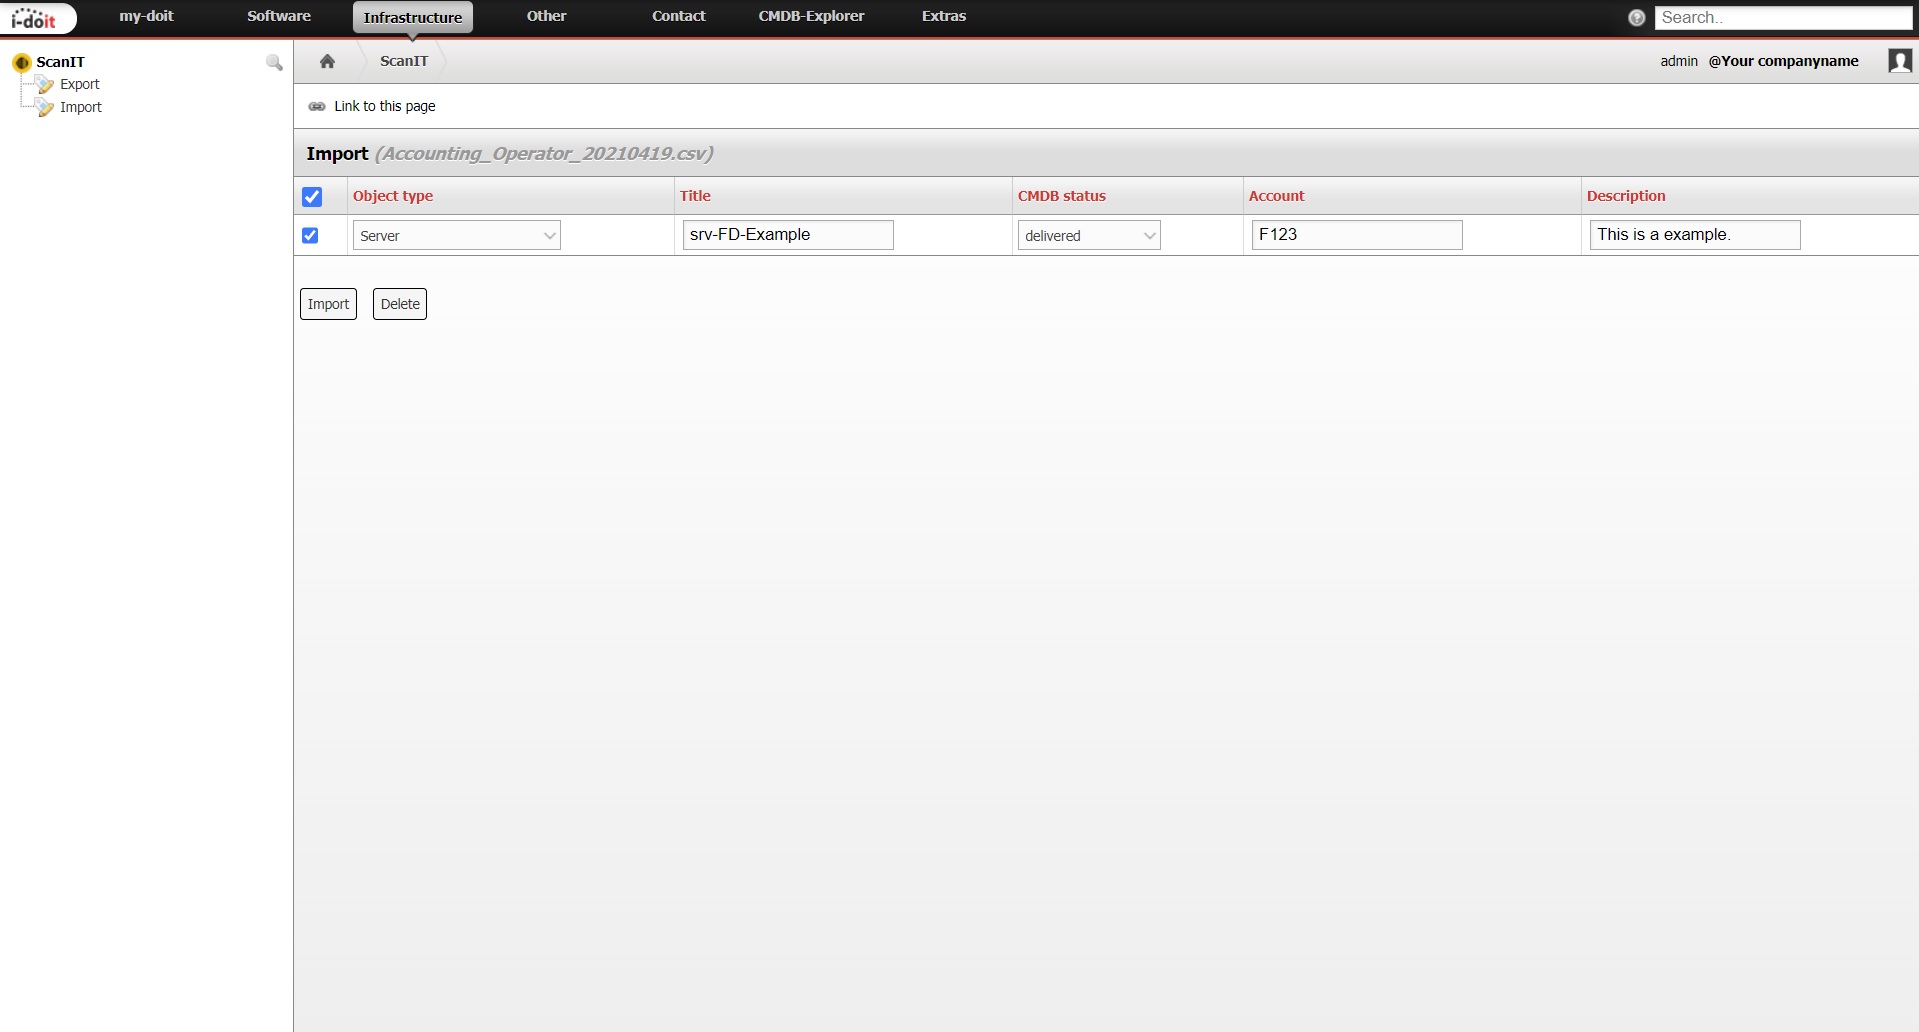
The individual datasets can be selected here. To do so, select the checkboxes for the respective rows. It is possible to import datasets via “Import” or to delete them via the “Delete” button.

In our example we select “Import”. If the import is successful, the complete line is displayed in green and is automatically removed. If all lines are successfully imported or deleted, the file is automatically removed as well. Here the object was created successfully.
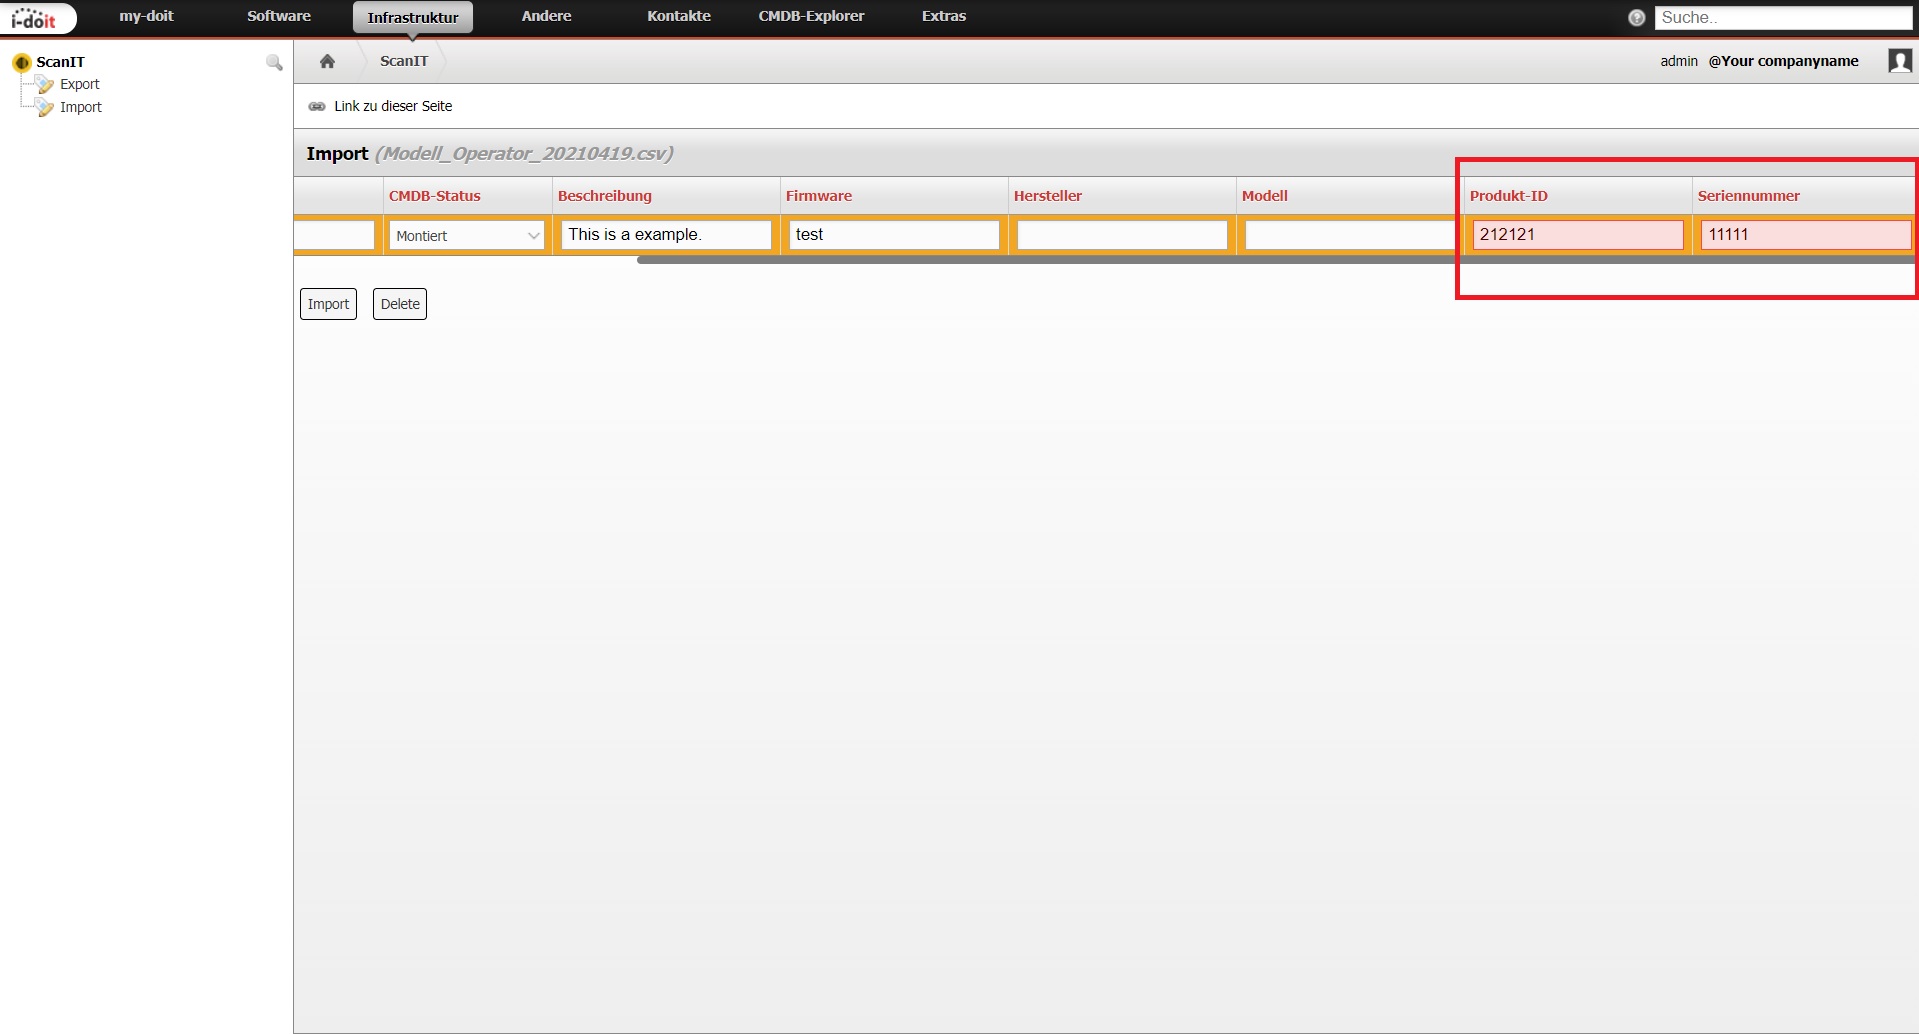
Automatic validation also takes place here. If a field is not filled in correctly, it appears red and the object is not created.