2: Get profiles, lists and start scanning
Getting profiles
Starting your android app. You will see four buttons.
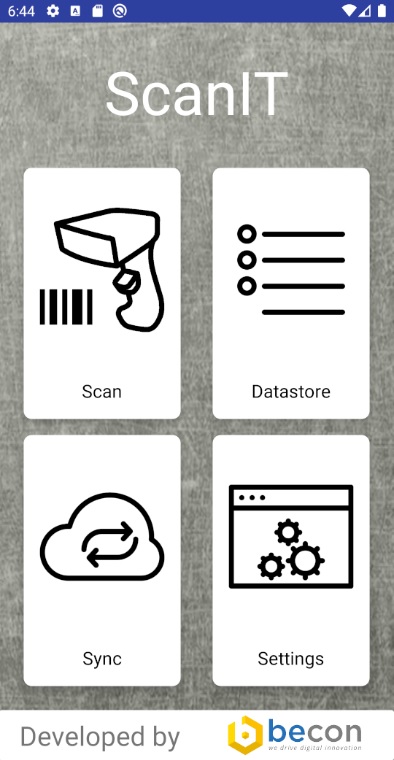
First of all you need to sync your profiles from i-doit. Click on “Sync”.
Note
At this part it is assumed that connector is already configured!
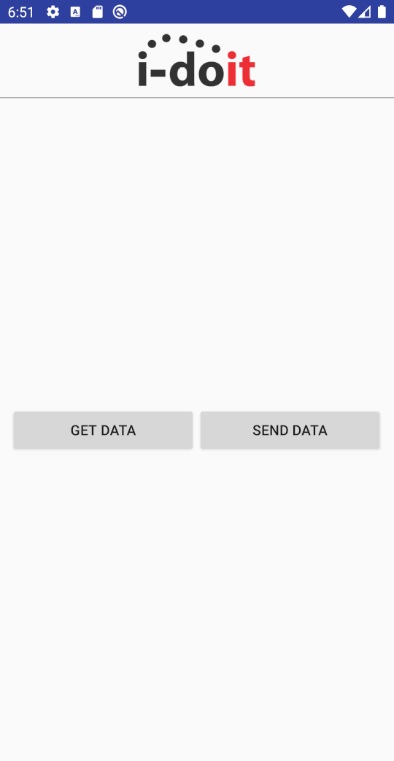
Now you can see two options. “Get Data” and “Send Data”. That means, if we want to get data from i-doit system or if we want to send data to i-doit system. So we want to get the profiles :-)

Now choose the profiles under “Profiles from i-doit” you want to sync to your android app by using the checkboxes. Then click “Update” to sync the files.
Getting lists
The second step before you can start scanning is to sync the lists. All available attributes of object types and cmdb statuses are fetched from i-doit and stored locally in the app. These are put in dropdown lists for preselection in the respective fields.
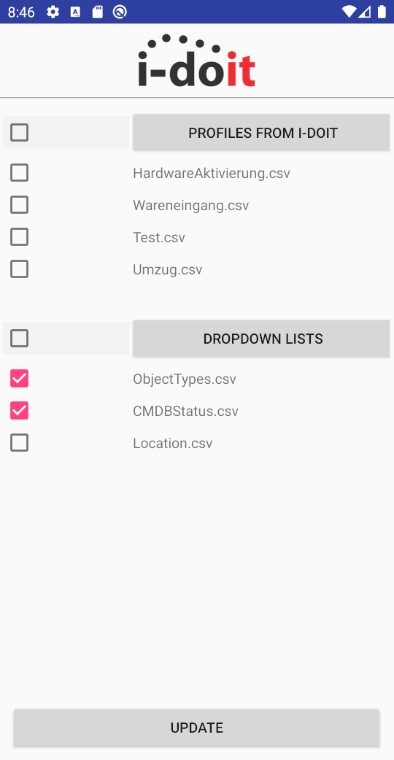
Choose “ObjectTypes.csv” and “CMDBStatus.csv” under “Dropdown lists”. Then click “Update” to sync the files.
Go back to home screen and click on “Scan” button.
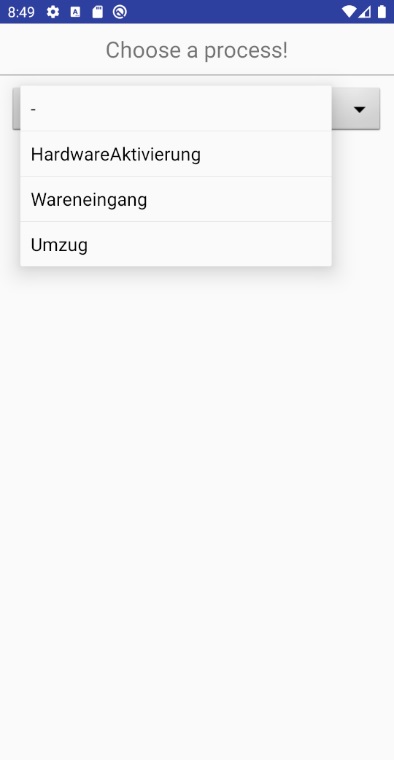
Choose one of your synchronized i-doit profiles.
Start scanning
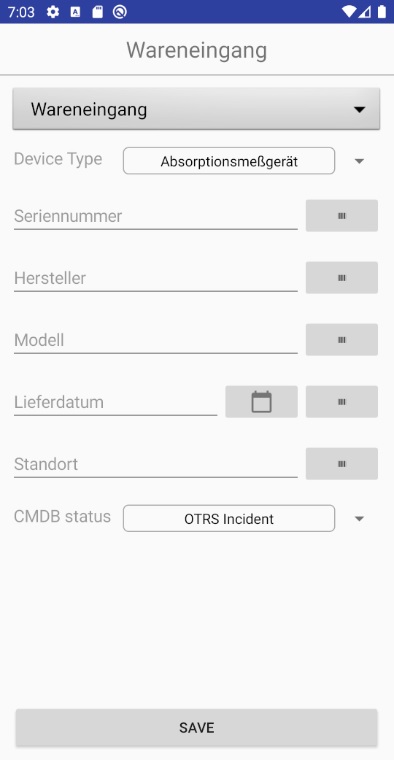
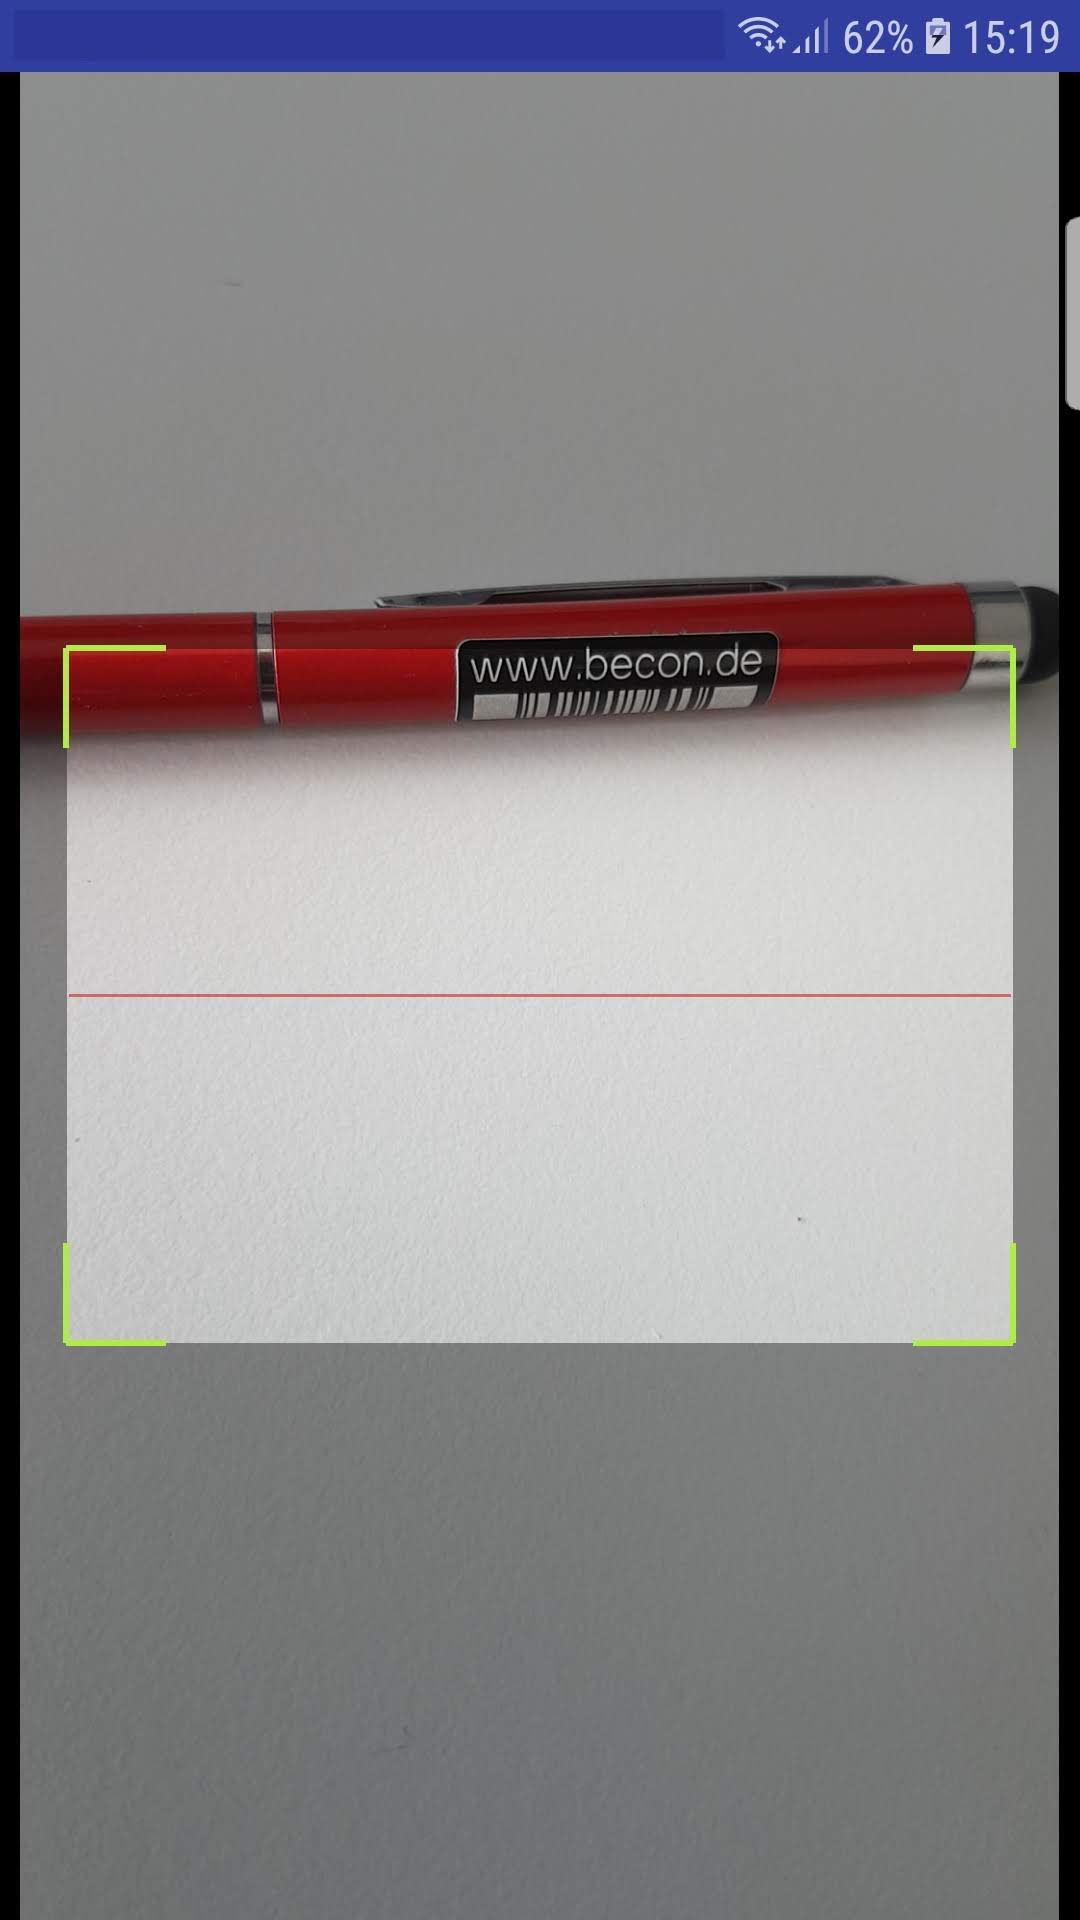
Now you see your configured fields from i-doit system. Type into a row for entering datasets by keyboard. Use the “barcode” button to open the barcode scanner.
Click on the “Save” button, to save the dataset.