Android
The individual functions of the mobile application are explained in more detail here.
Sync
Get data
Get data means that individual information is obtained from the i-doit CMDB. These specify the way in which further details can be stored. Or this data can also be used as a tool to make work easier. These values must be obtained once, from then on further work is possible without an internet connection. A connection is only required to send the data packages back to the database or to use the online mode in datastore.
Profiles
Profiles are created in i-doit and specify to the user which attributes can be stored in the app and which the CMDB expects in the end. This is how the structure of the various forms is built. In conclusion, this means that at least one profile must be accessible on the mobile device so that datasets can be generated.
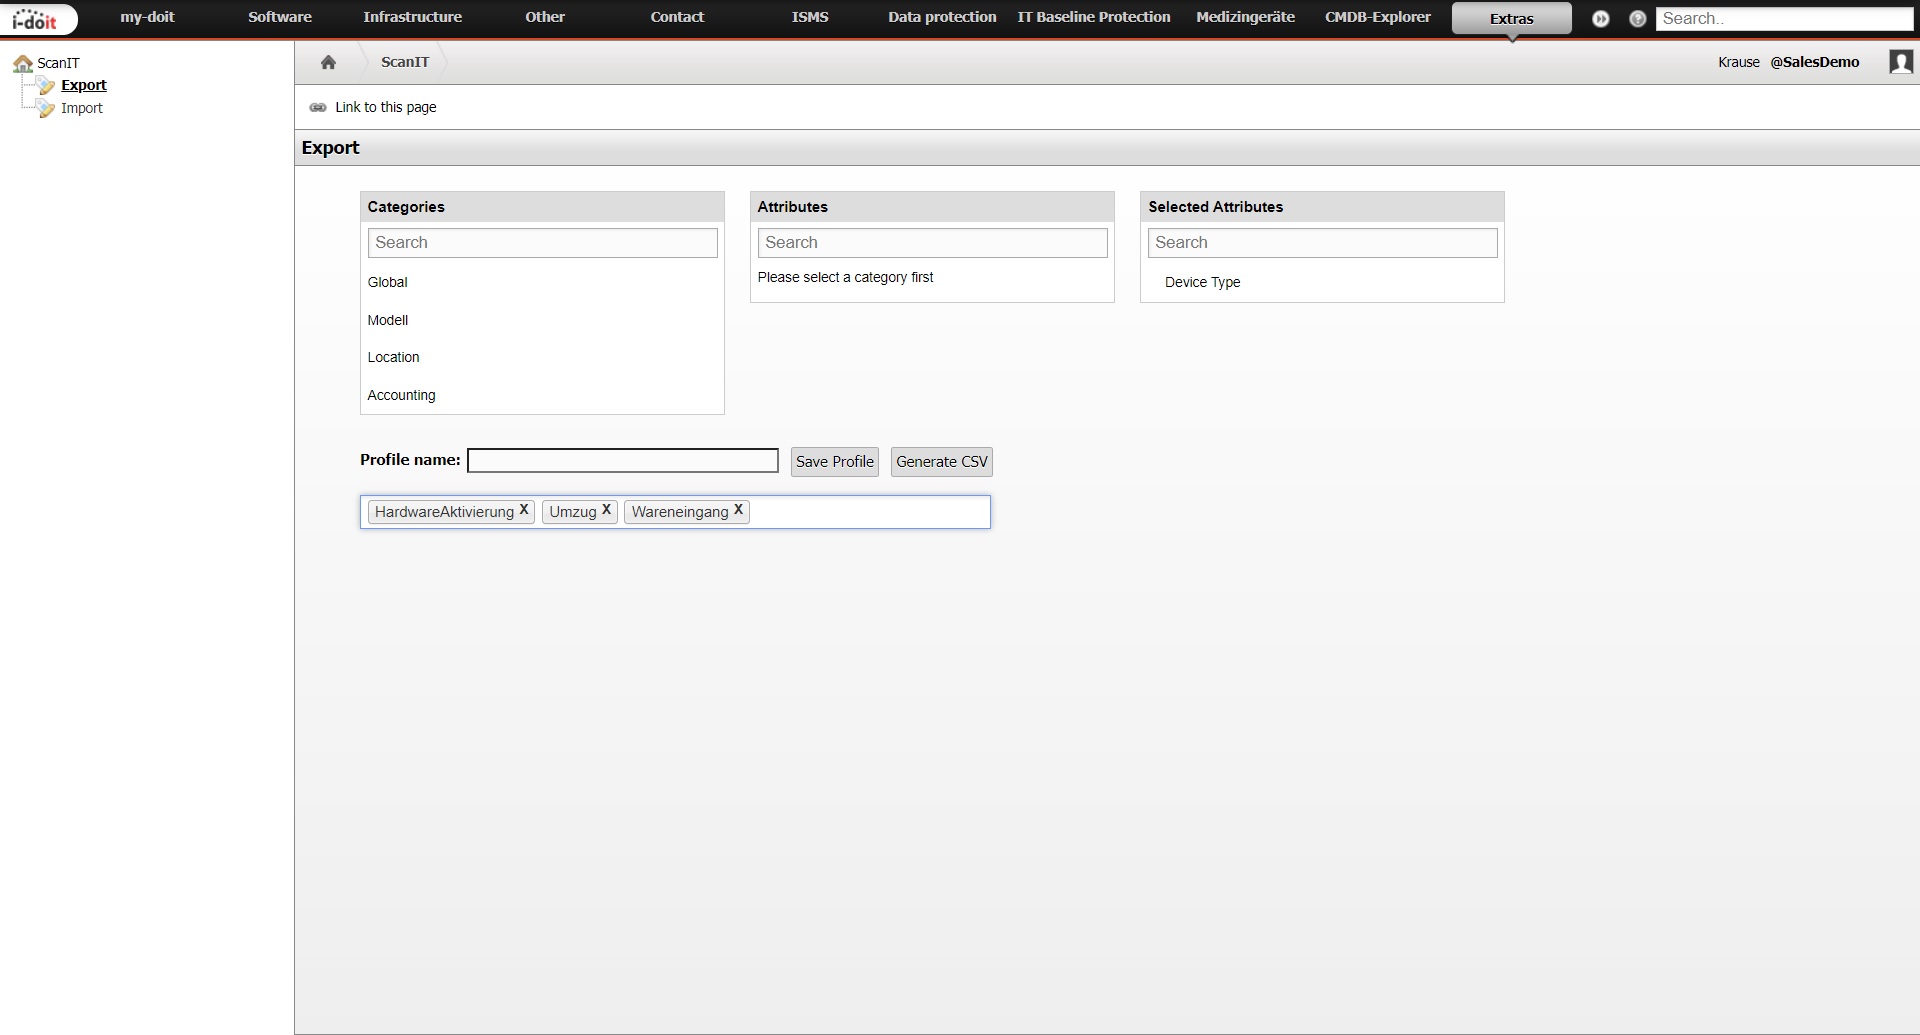
Create your customized profiles in the i-doit ScanIT add-on under the menu item “Export”.
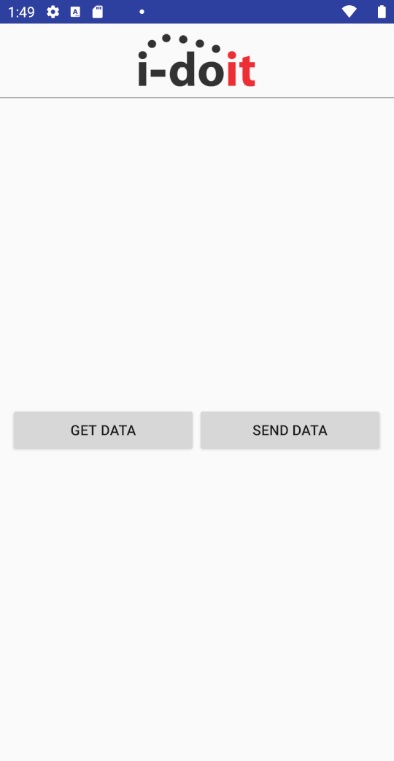
Click on “Sync” in the home screen and then on “Get Data”.
Note
A continuous internet connection is required for this and make sure that you have entered your i-doit url and apikey under Settings.

At “Profiles From I-Doit” all profiles are shown which are received from CMDB. Select the profiles you want to work with and click “Update”. The checkbox in the header selects all files.
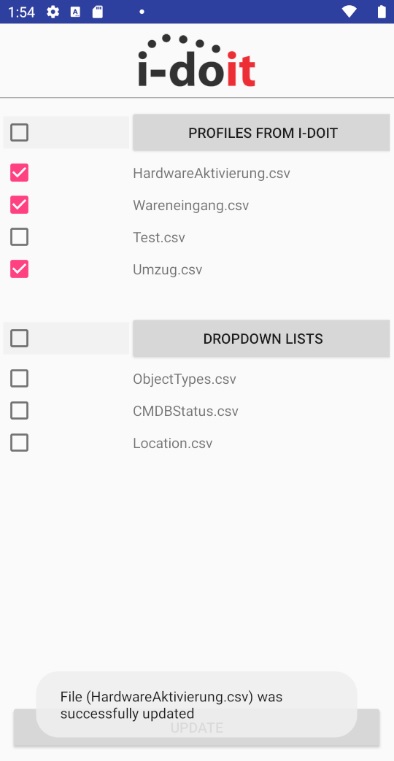
A message appears that the profiles have been successfully stored in the local memory.
Note
When you make changes to profiles in i-doit, don’t forget to update the profiles within the app.
These profiles can be selected immediately at various points to create datasets.
The creation of the profiles in i-doit determines the structure of the forms and which values are expected.
Lists
Lists enable a better workflow during work. With the preloaded lists, dropdown lists or autocomplete text with attributes are provided for preselection. This allows you to create new datasets in a short time.
Object Types and CMDB Status
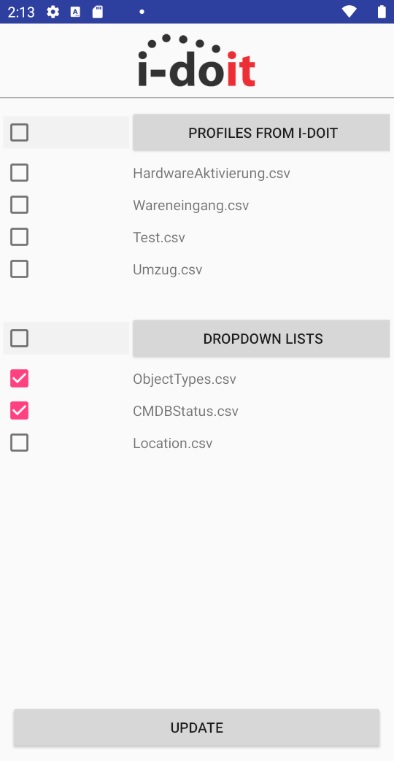
Select the checkboxes “ObjectTypes.csv” and “CMDBStatus.csv” and load the file via “Update”.
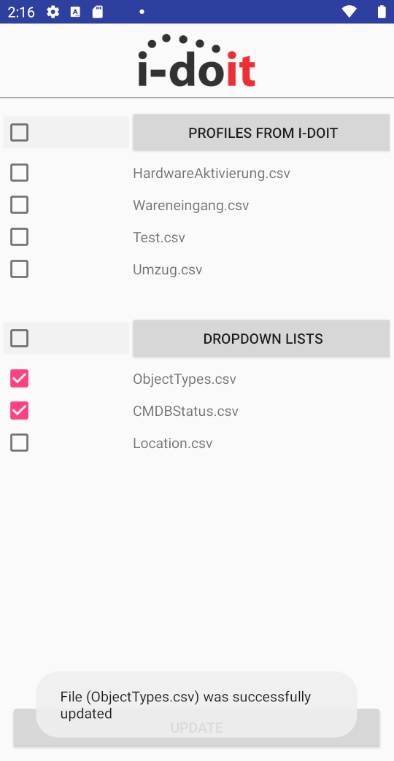
After successful download a message appears.
Note
These two files are needed so that datasets can be created. If these values are changed in the i-doit CMDB, do not forget to reload the lists.
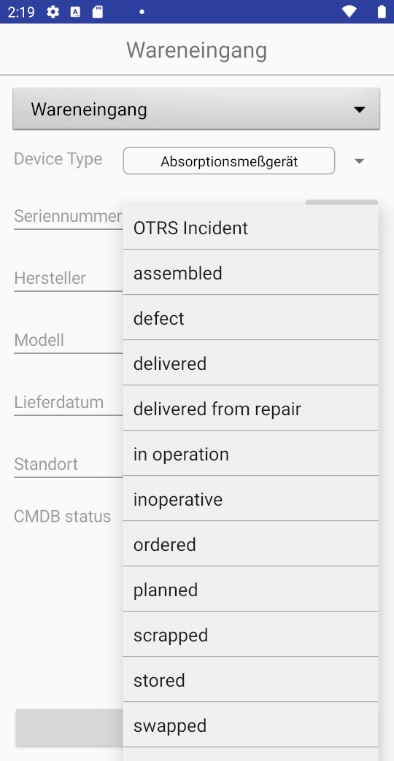
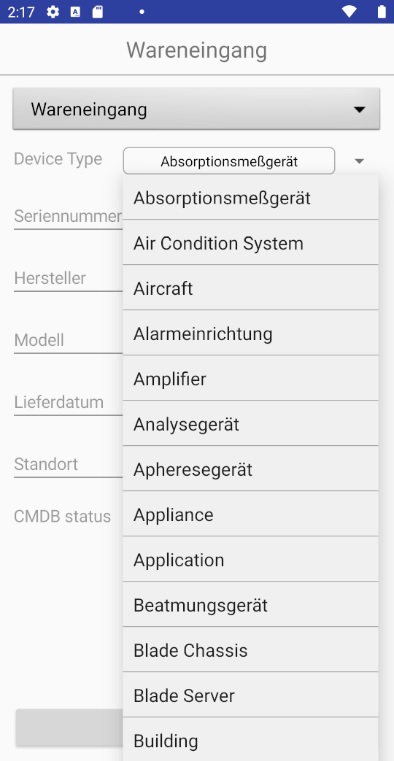
In the forms, dropdown lists are provided for the selection of values from the CMDB. In this case for CMDB status and Device Type.
Note
The value shown first can be changed as default value in Settings.
Locations
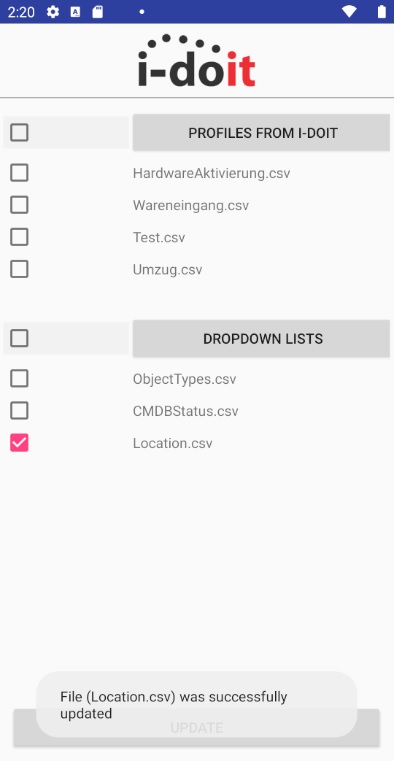
The “Location.csv” can be obtained for input assistance in locations.
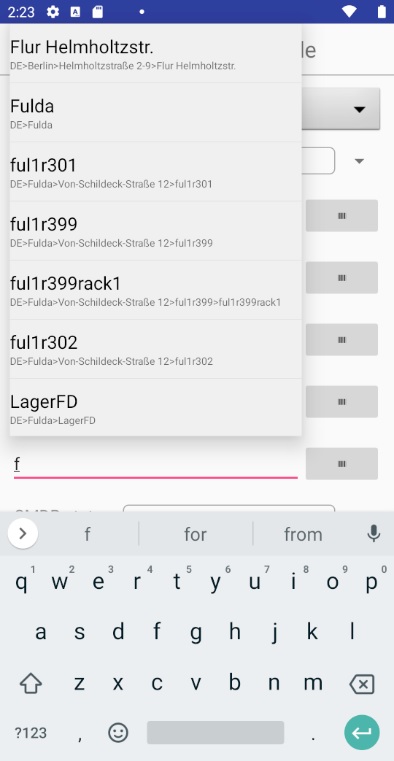
Press the text field for locations. As soon as letters are entered, an autocomplete is created for all location object types where these letters occur.
Note
With “*” all available location object types are displayed. In Settings you can specify the ids of the location object types to be retrieved from CMDB.
Send data
After the files with the different datasets are complete, they can be sent back to the CMDB. There a change owner has the possibility to check and accept the data.
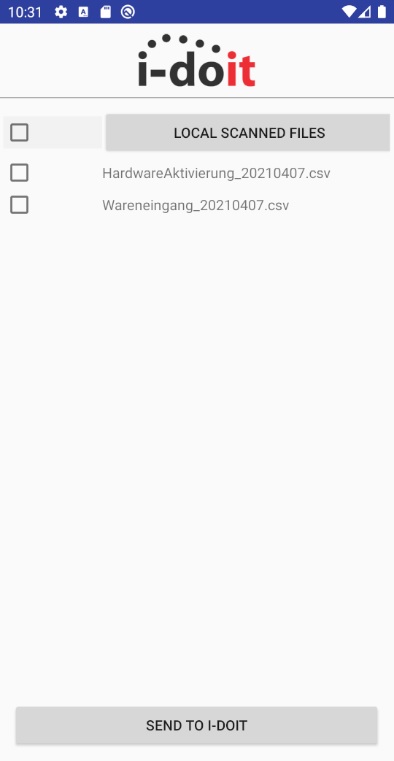
Click on “Sync” in the home screen and then on “Send Data”.
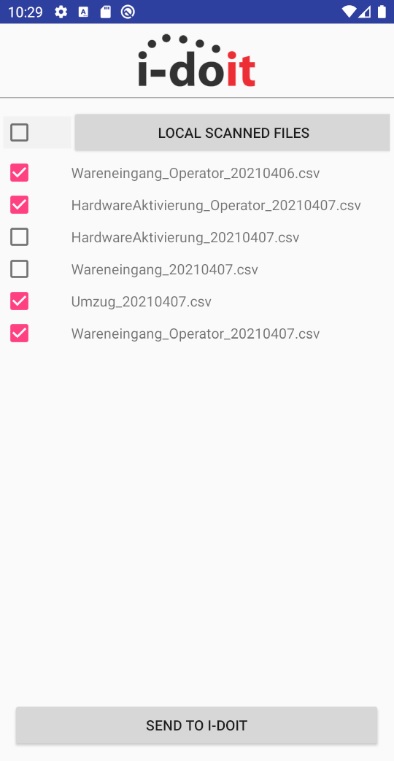
Select the files to be sent to the database. The checkbox in the header selects all files. Press “Send To I-Doit” to start the transmission.
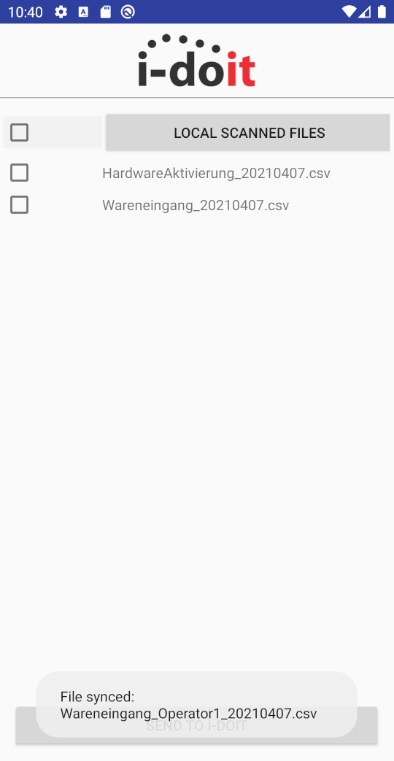
It is displayed whether the respective file was successfully synchronized with the CMDB.

If there is a file with the same name in the CMDB import, it will be mentioned.
The data sent to i-doit will be automatically removed from the device and from the list.
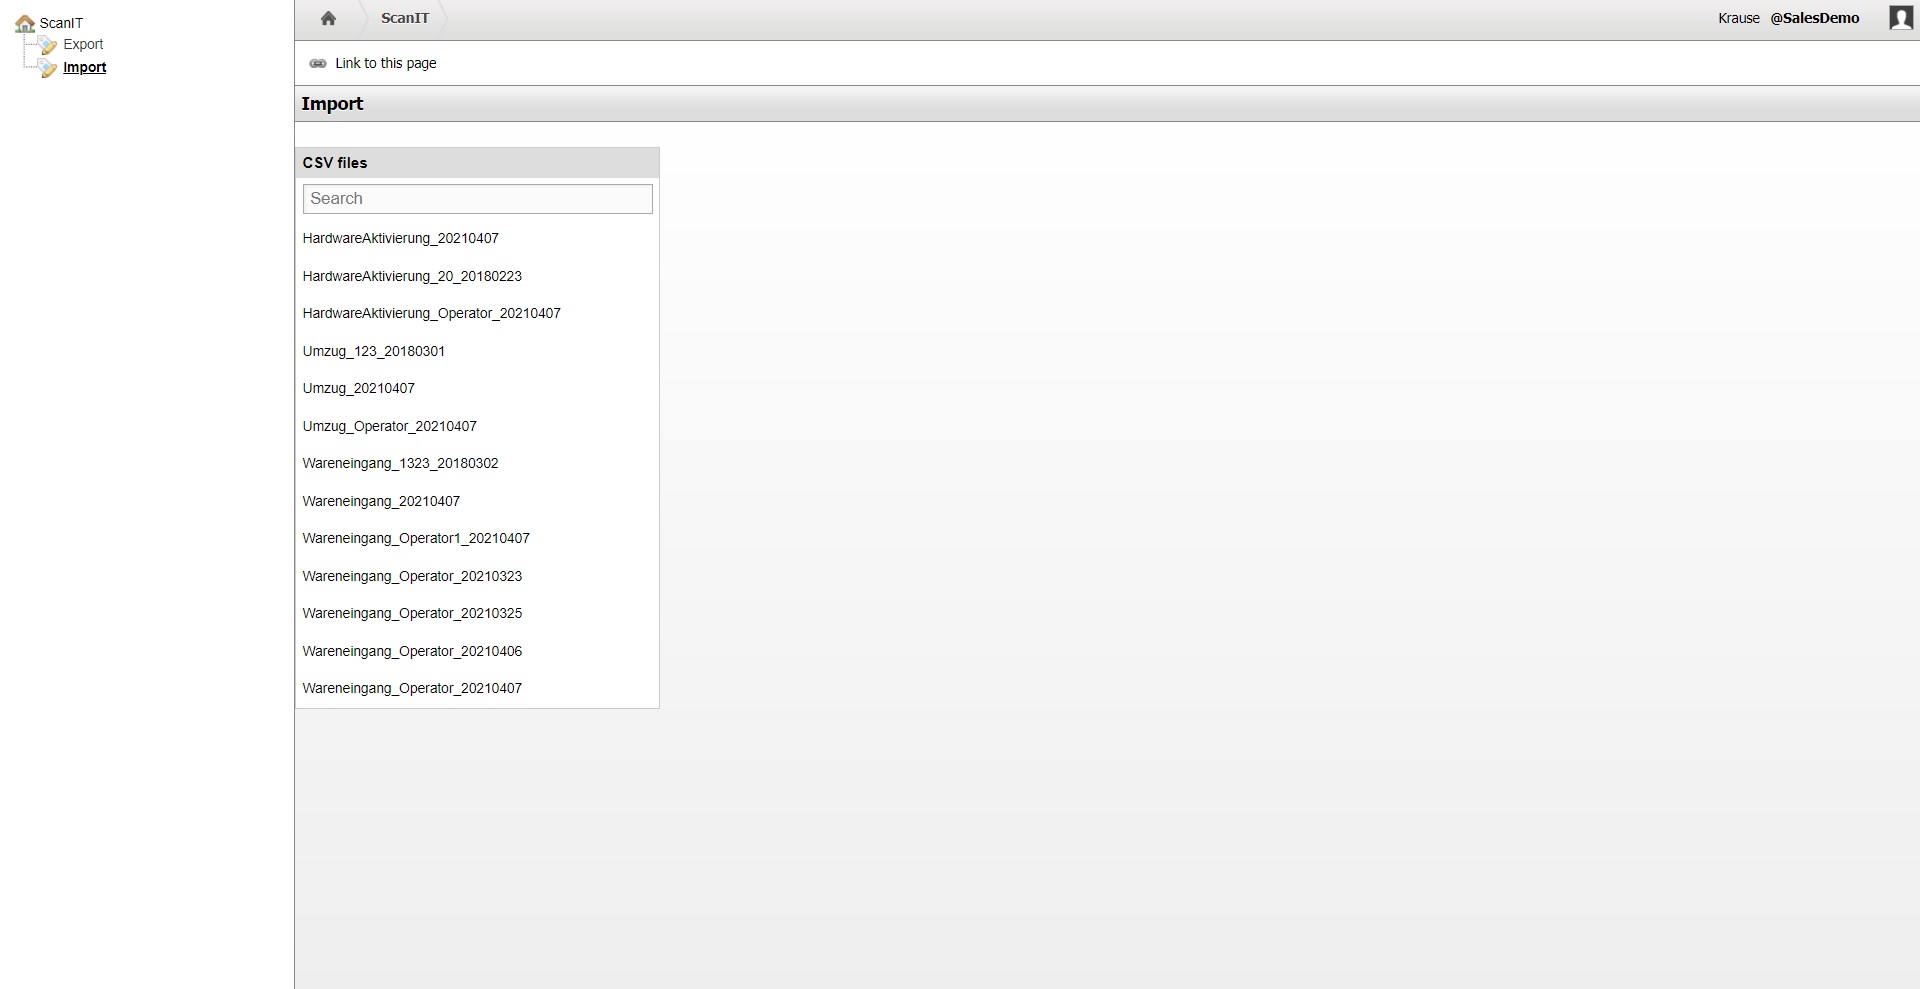
After successful transfer, the data supplied can be processed by the change owner under “Import” in i-doit.
Scan
After the profiles have been imported from the CMDB into the application, you can start creating your records. Next to each text field where a “Scan” button exists, it is possible to scan a barcode. You do not need an internet connection for this process.
Create new dataset
Click on “Scan” in the home screen.
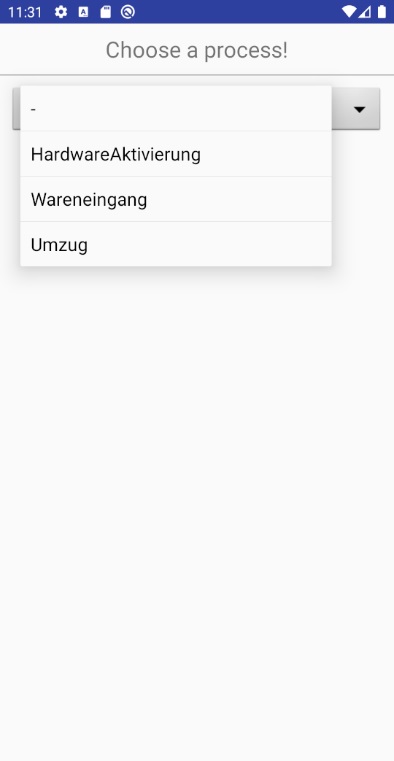
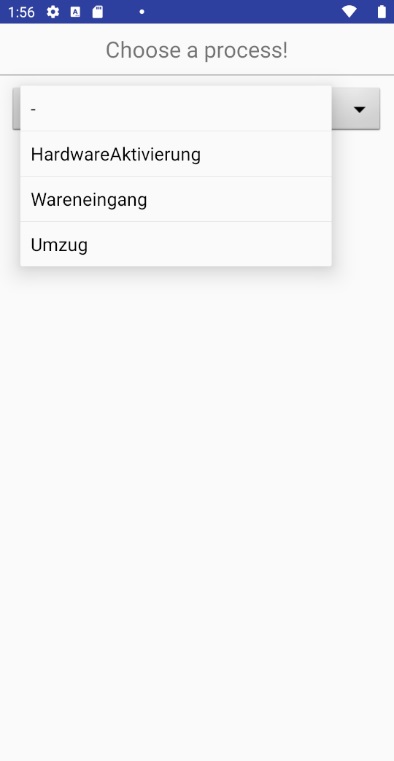
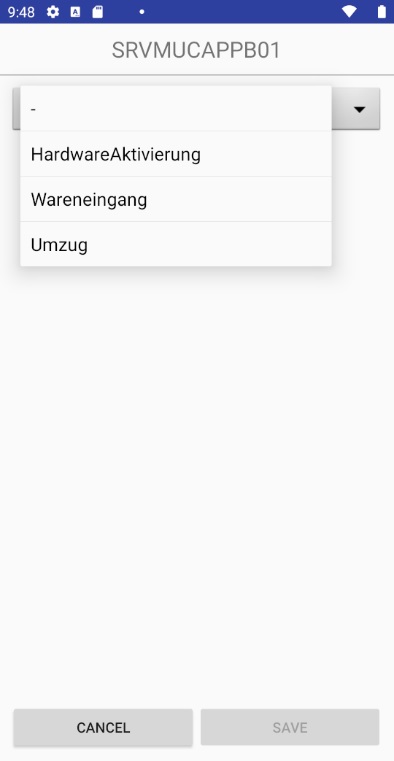
Select a profile in which the data for the dataset will be entered.
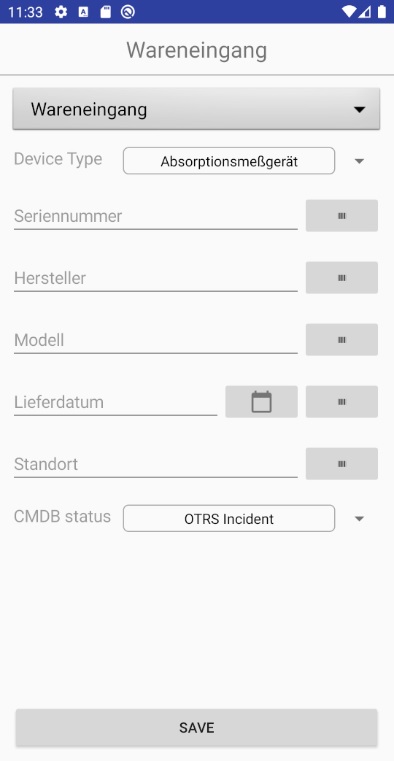
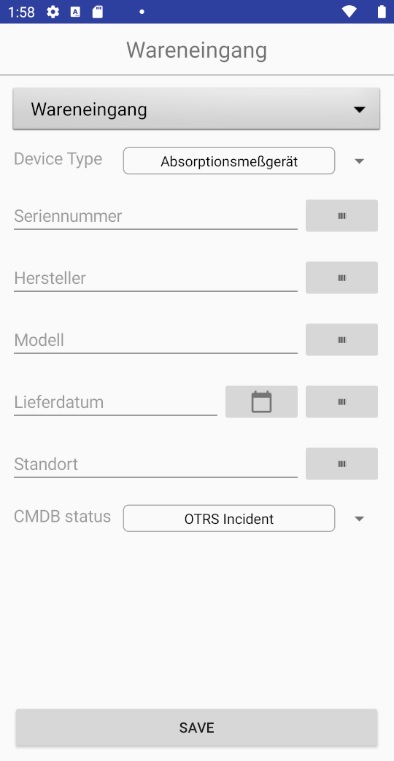
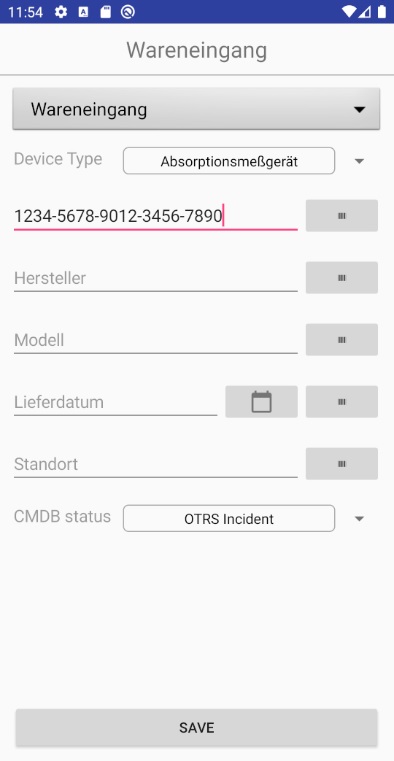
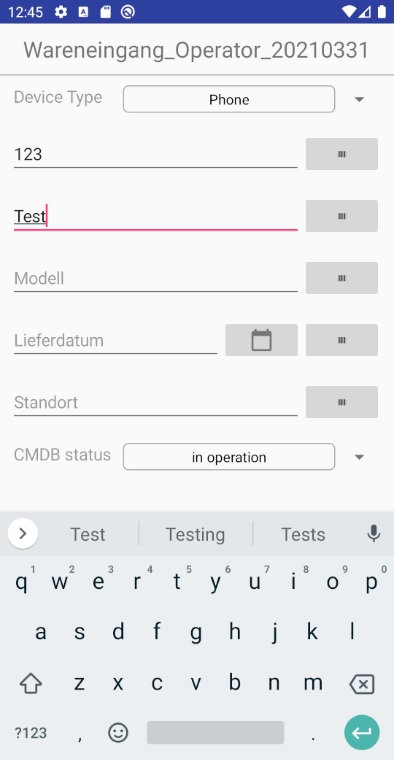
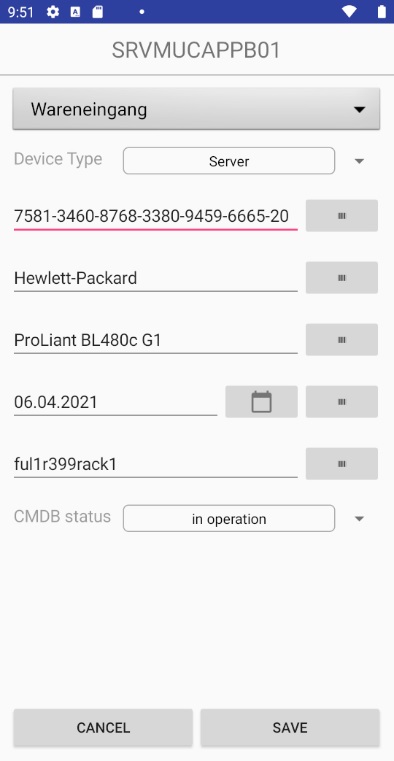
Now you see your configured fields from i-doit system. Type into a row for entering datasets by keyboard.
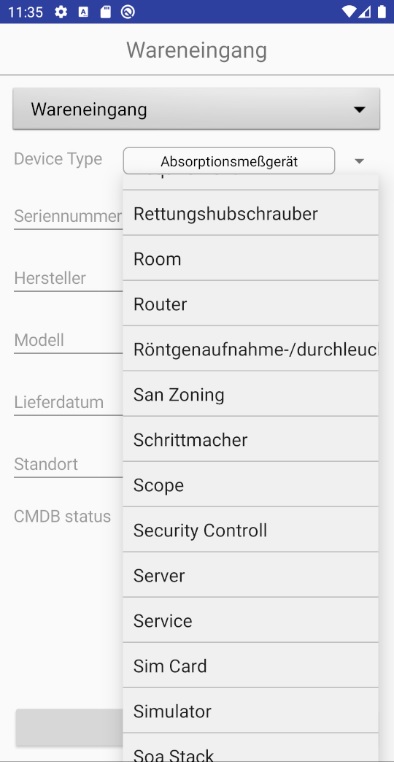
Via Device Type and CMDB status you have the possibility to select an attribute by preselection.
Note
The default values of the dropdown lists can be adjusted in Settings.

If a date is to be entered, this can be done conveniently via the calendar interface. Click on the “Calendar” button next to the text field.
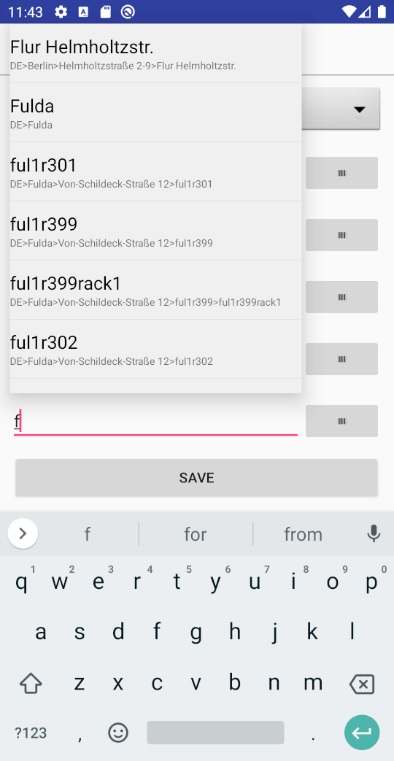
In the text field “Locations” an autocomplete appears after the first letter is entered to help you with the entry.
Note
If no autocomplete appears, make sure that “Location.csv” file was loaded in Sync.
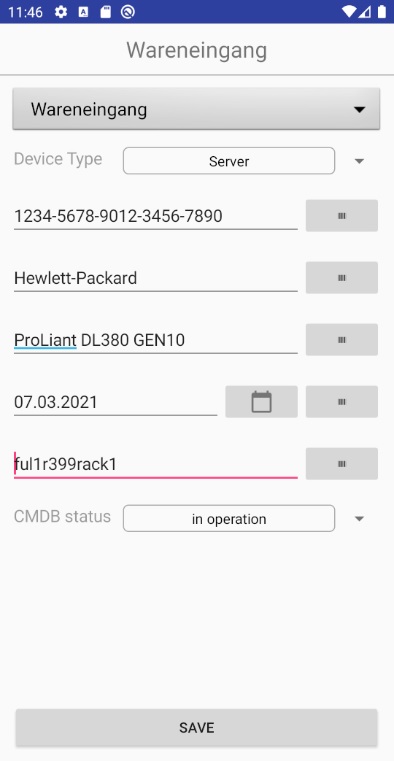
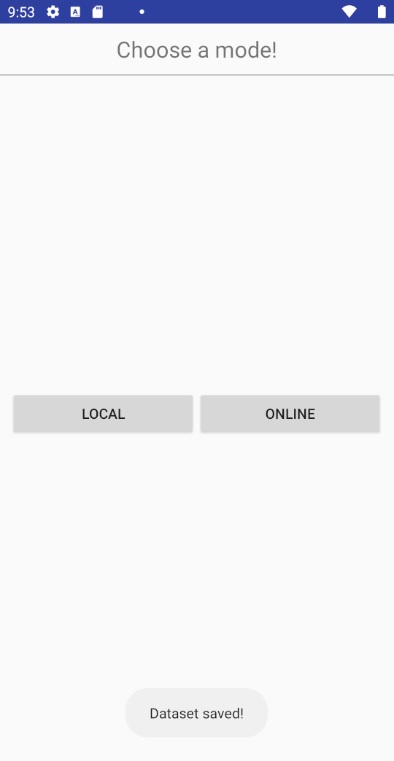
After all required values have been entered, the data set can be saved using the “Save” button.
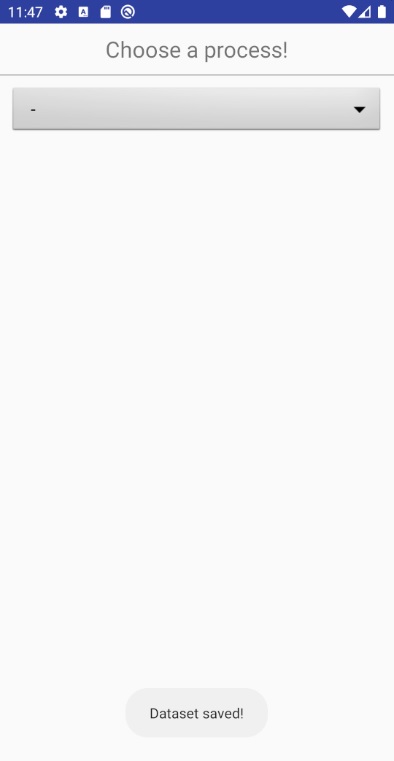
A message appears that it has run successfully.
To edit or delete the file, go to Datastore and select “Local”. Here you can see the created file.
Note
The filename is: “profilename_username_timestamp.csv”. If more datasets are created with the same profile, username and on the same day, they will all be written to this one file. If the username is changed or the datasets are edited on a different day, a new file will be added automatically. The username can be changed or disabled in Settings.
Scan barcode
To create datasets faster during execution, use the scan function to scan barcodes.
It is possible to scan everywhere where there is a “barcode” button next to the text field.

Use the “barcode” button to open the barcode scanner.
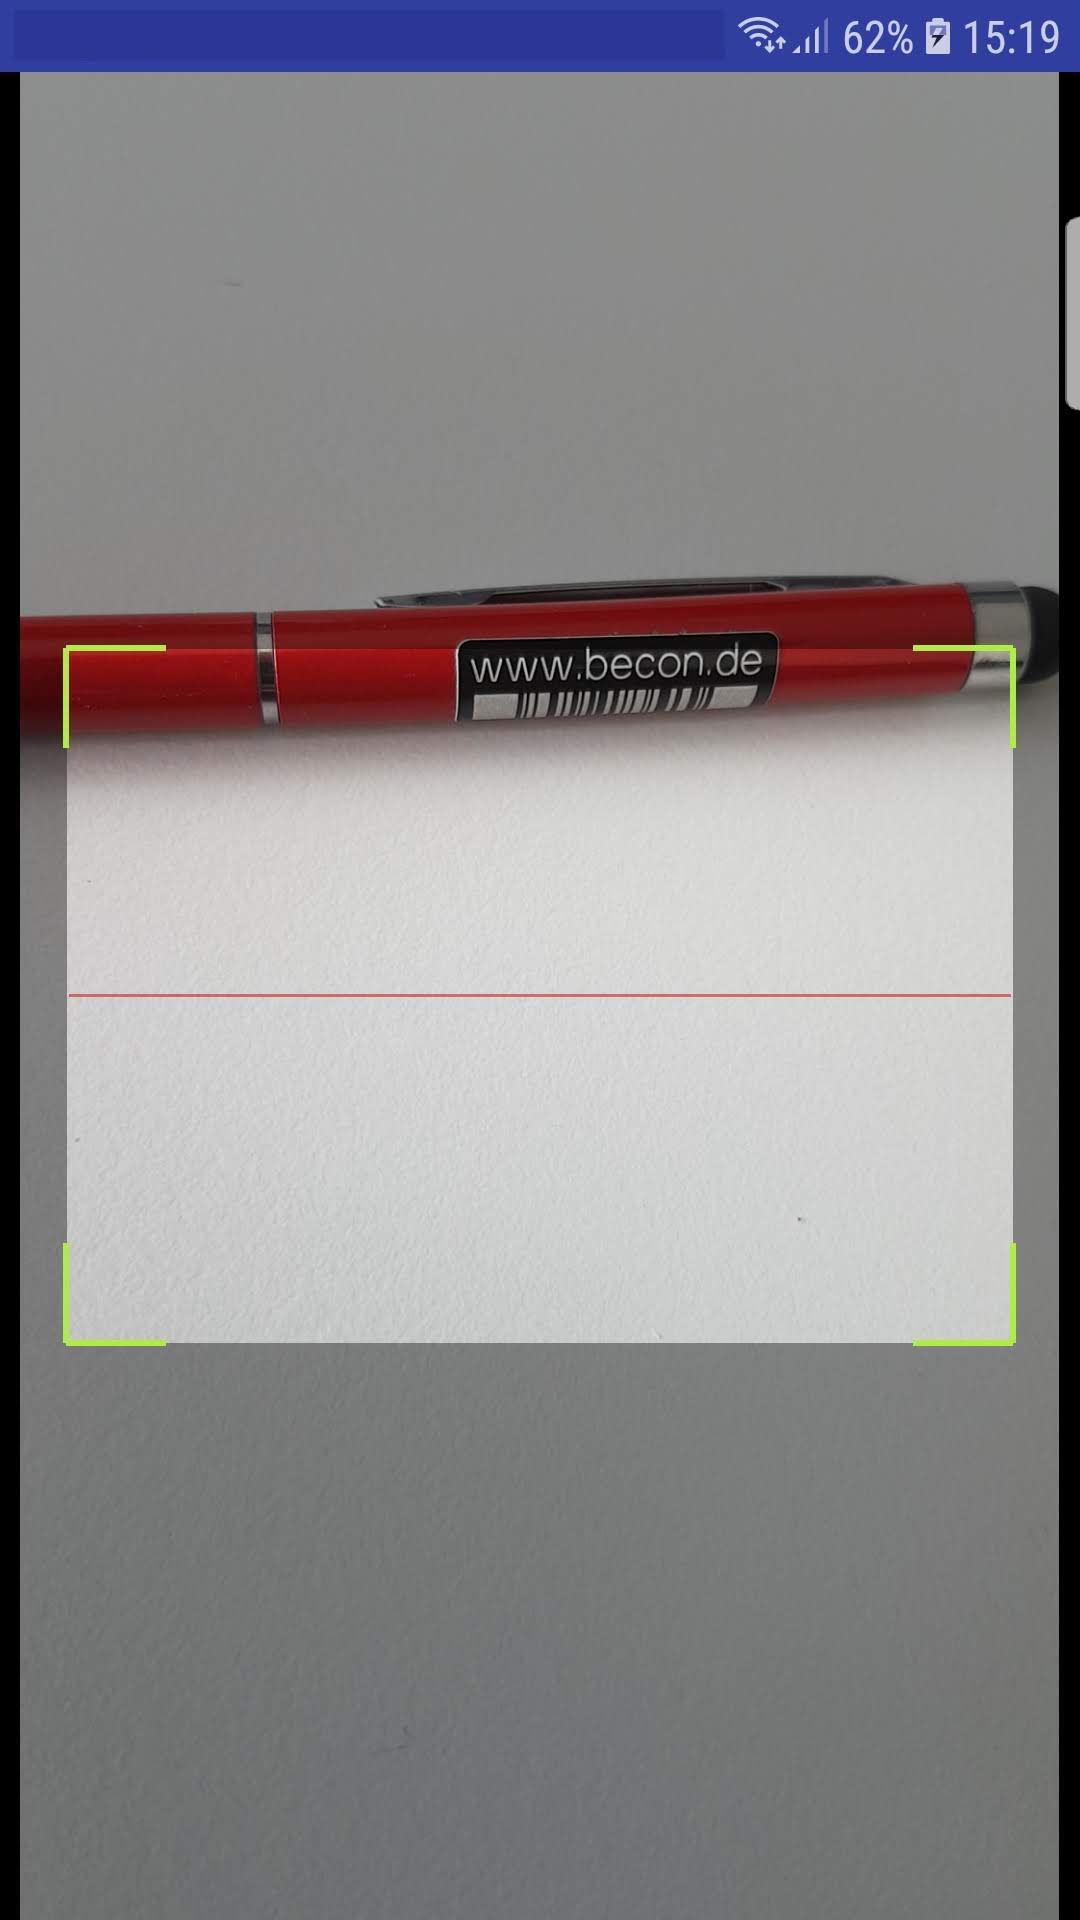
Hold the mobile device to the barcode to capture it.
The entered data is transferred to the text field. Click on the “Save” button, to save the dataset.
Datastore
Local
In Local, individual datasets of the saved files can be edited or deleted. At least one file must have been created before this function can be used. If all existing datasets are deleted at once, the file is also disposed of. The files are stored on the local storage and no internet connection is needed for the treatment.
Edit datasets
After a dataset has been created, it is possible to edit it subsequently.
Click on the “Datastore” button on the home screen.
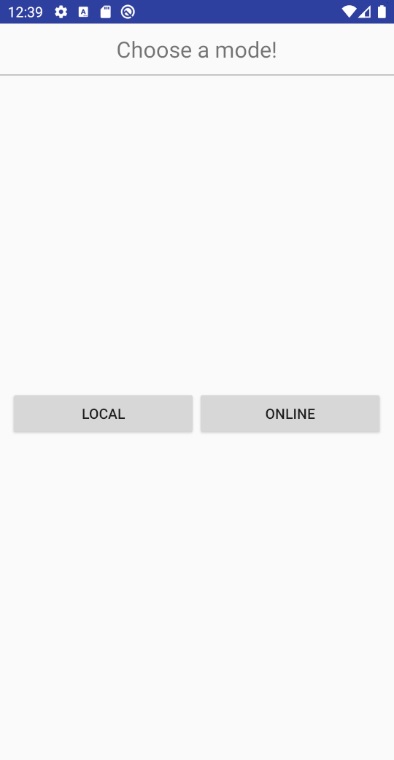
Now click the “Local” button.
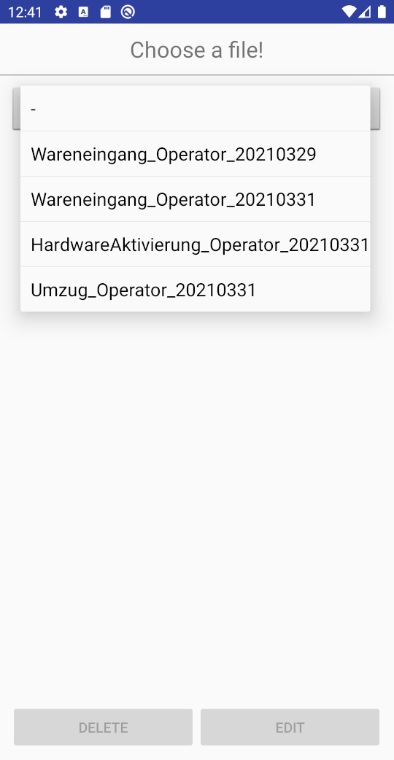
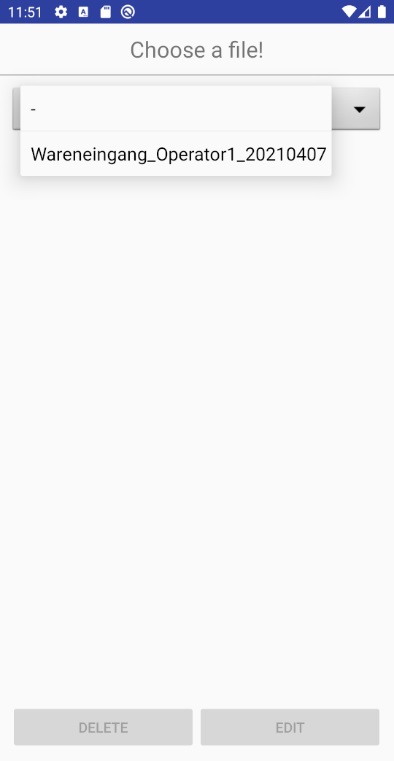
Select the file in which you want to change data.
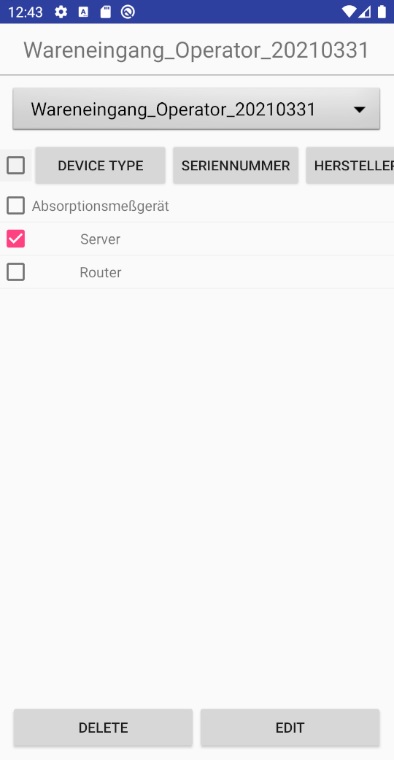
All data records of this file are displayed in a table. Select a line you want to edit by clicking a checkbox. And confirm by pressing the “Edit” button.
Note
Only one checkbox may be selected for editing.
In this form you have the possibility to change all fields.
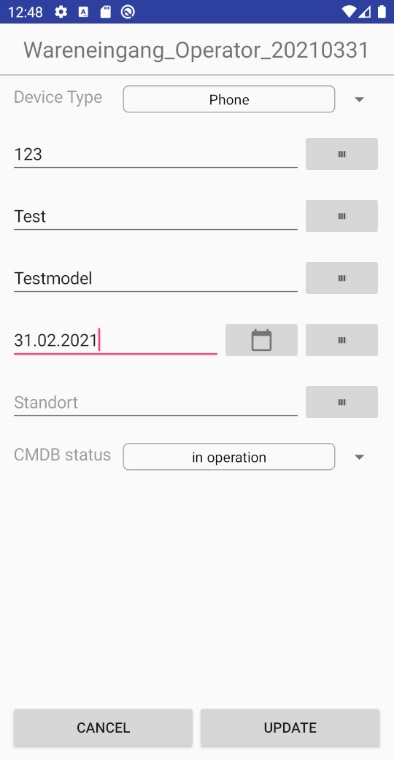
The change will be applied by clicking the “Update” button.
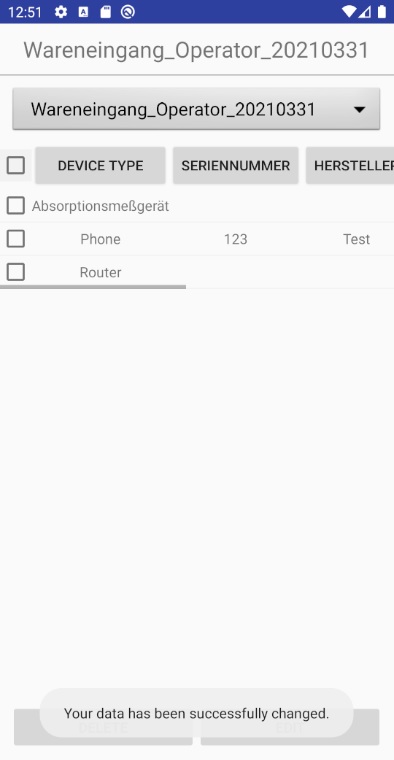
After confirming, you will be taken back to the selection page.
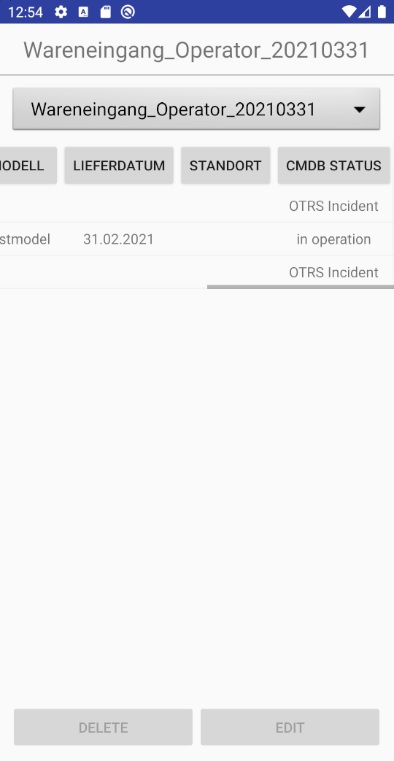
You can see all the changed records by scrolling to the right in the table.
Delete datasets
There is a possibility to delete a single or several datasets.
Select the file in which you want to delete data.

Select a checkbox to delete a dataset from the file. Click “Delete”.
The data is deleted and the table is automatically updated.
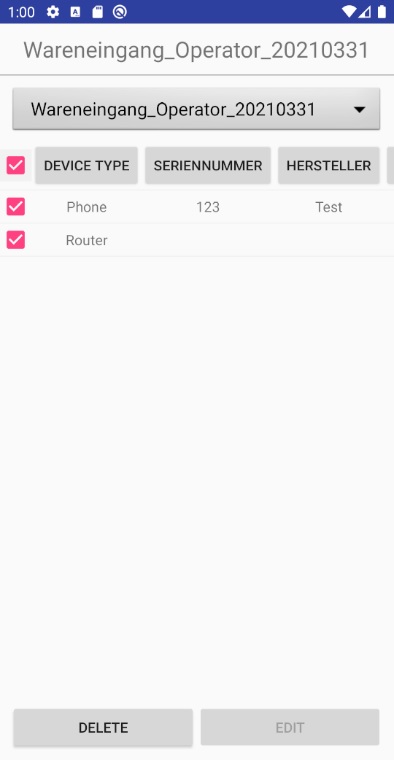
To delete multiple datasets click on the respective checkboxes. If you want to delete all of them, click on the checkbox in the header and all existing datasets will be selected.
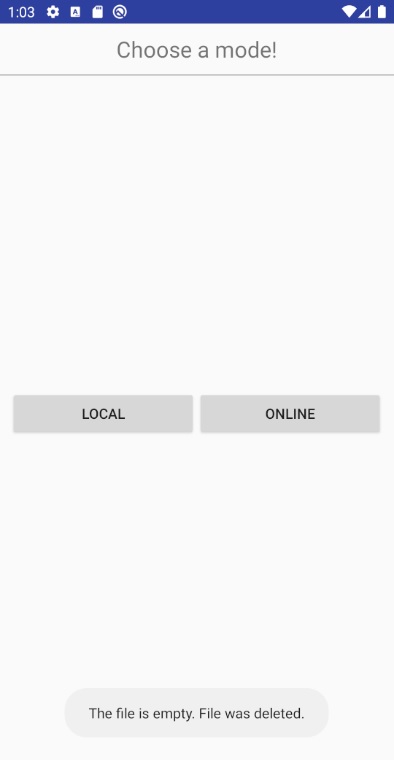
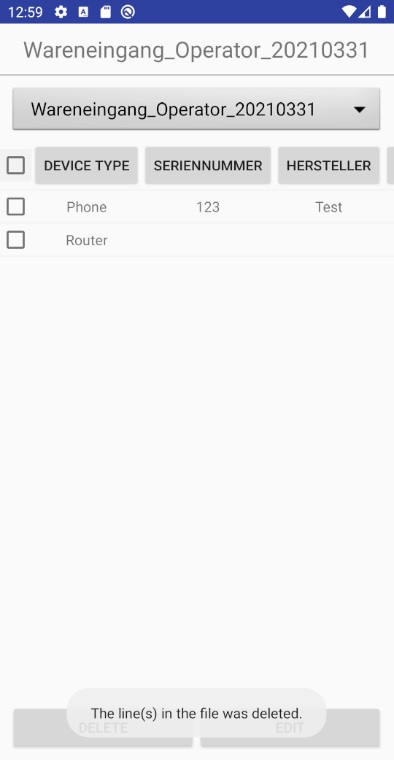
If all datasets are deleted, the file is also deleted and you return to the Datastore selection page.

Go to local again and press the file selector. The file is no longer present.
Online
In Online, it is possible to load information about individual objects from your CMDB directly into the app using a search function or qr scanner. This information can be used to easily create new datasets of similar objects.
Note
A continuous internet connection is required for this.
Search in i-doit
Here you have the possibility to search for single objects in your i-doit CMDB by object title, serial number or inventory number. The attributes of these objects can be loaded into profiles for further processing.
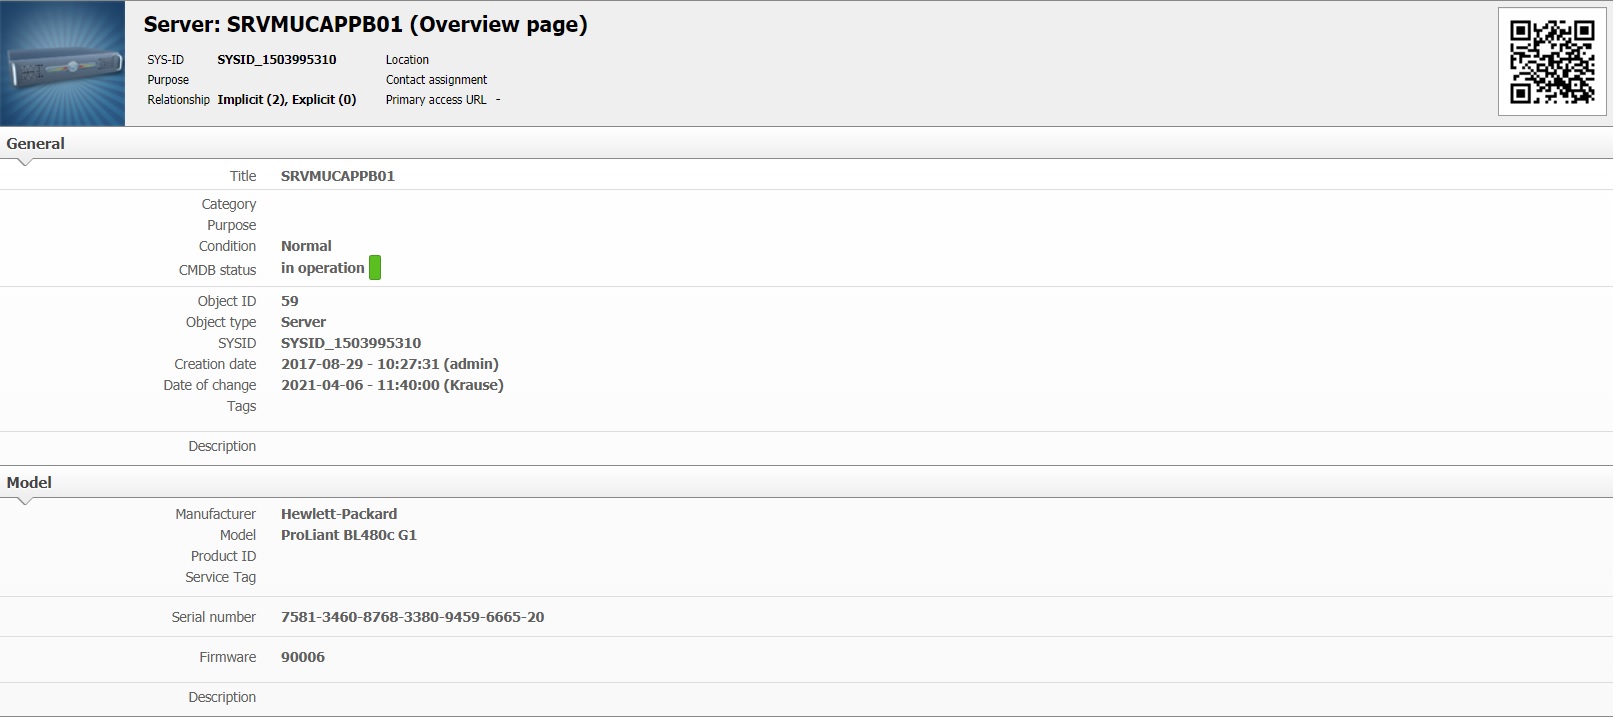
An example with a server object. The object has the following attributes: object title “SRVMUCAPPB01” and serial number “7581-3460-8768-3380-9459-6665-20” which we use for the search.
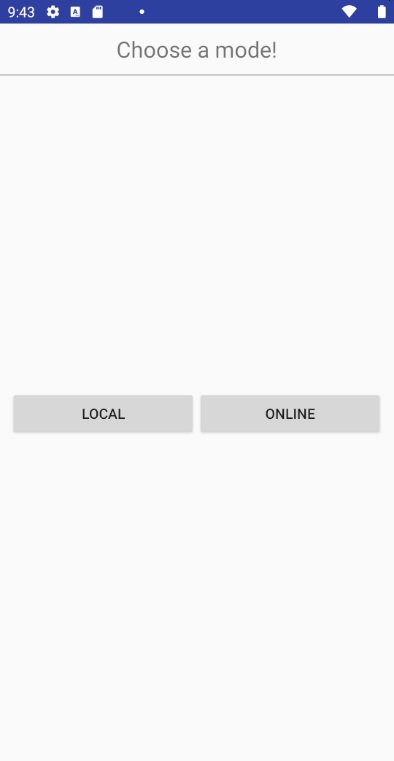
Click on the “Online” button in “Datastore”.
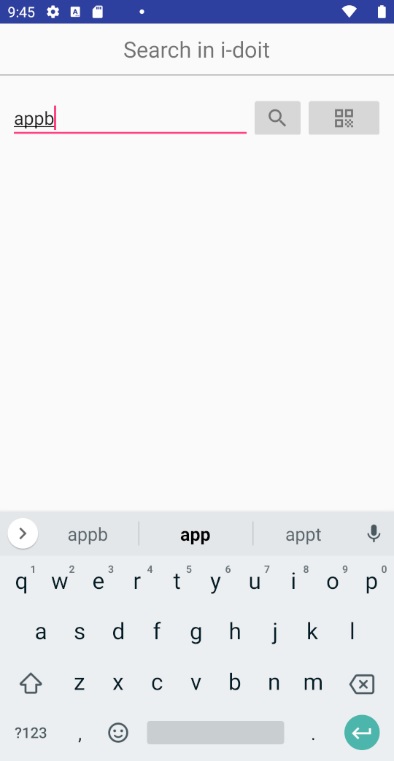
In the search field, we first search for the object title and enter a partial term.

Then press the “magnifying glass” button to start the search.
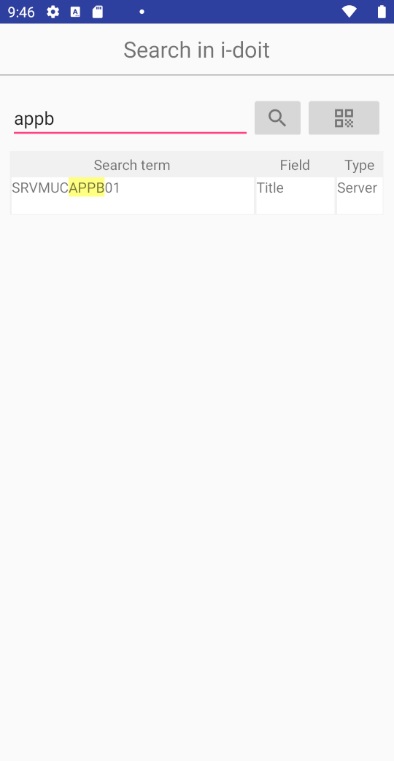
Now all search terms that were found are displayed in a table.
- Search terms: Term which matched with the search term.
- Field: Whether the found term is an object title, serial number or inventory number.
- Type: From which object type the search term comes from.
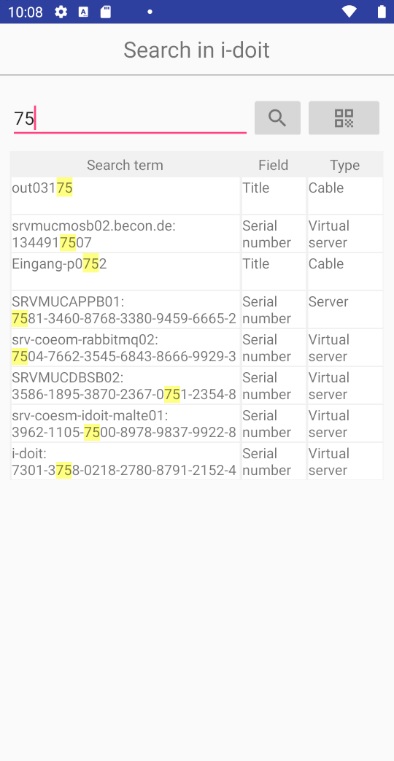
Now we search for the object by serial number. We enter “75” as a search term and receive all results in which a “75” occurs.

If the search term is matched with a serial number or inventory number, the object title is given above the search term as a heading.
Note
Select an object by clicking on the respective line of the table.
The object title of the selected object is in the heading. Now select a profile into which the attributes will be loaded.
The form is filled with the values of the object from the CMDB. These can now be edited further. It is still possible to use the barcode scanner, e.g. to scan in a different serial number. Then click on “Save” to create a new dataset.
After successful saving, you will be returned to the datastore selection window.
Scan QR Code
In the i-doit CMDB, each object contains a unique qr code. This can be attached directly to the hardware component in order to obtain its information more quickly. If this qr code is scanned, it is possible to load its attributes into a profile for further processing.

Click on the “Online” button in “Datastore” and you will be redirected to the “Search in i-doit” page.

Click on the “QR Code” button and the QR code scanner will open.
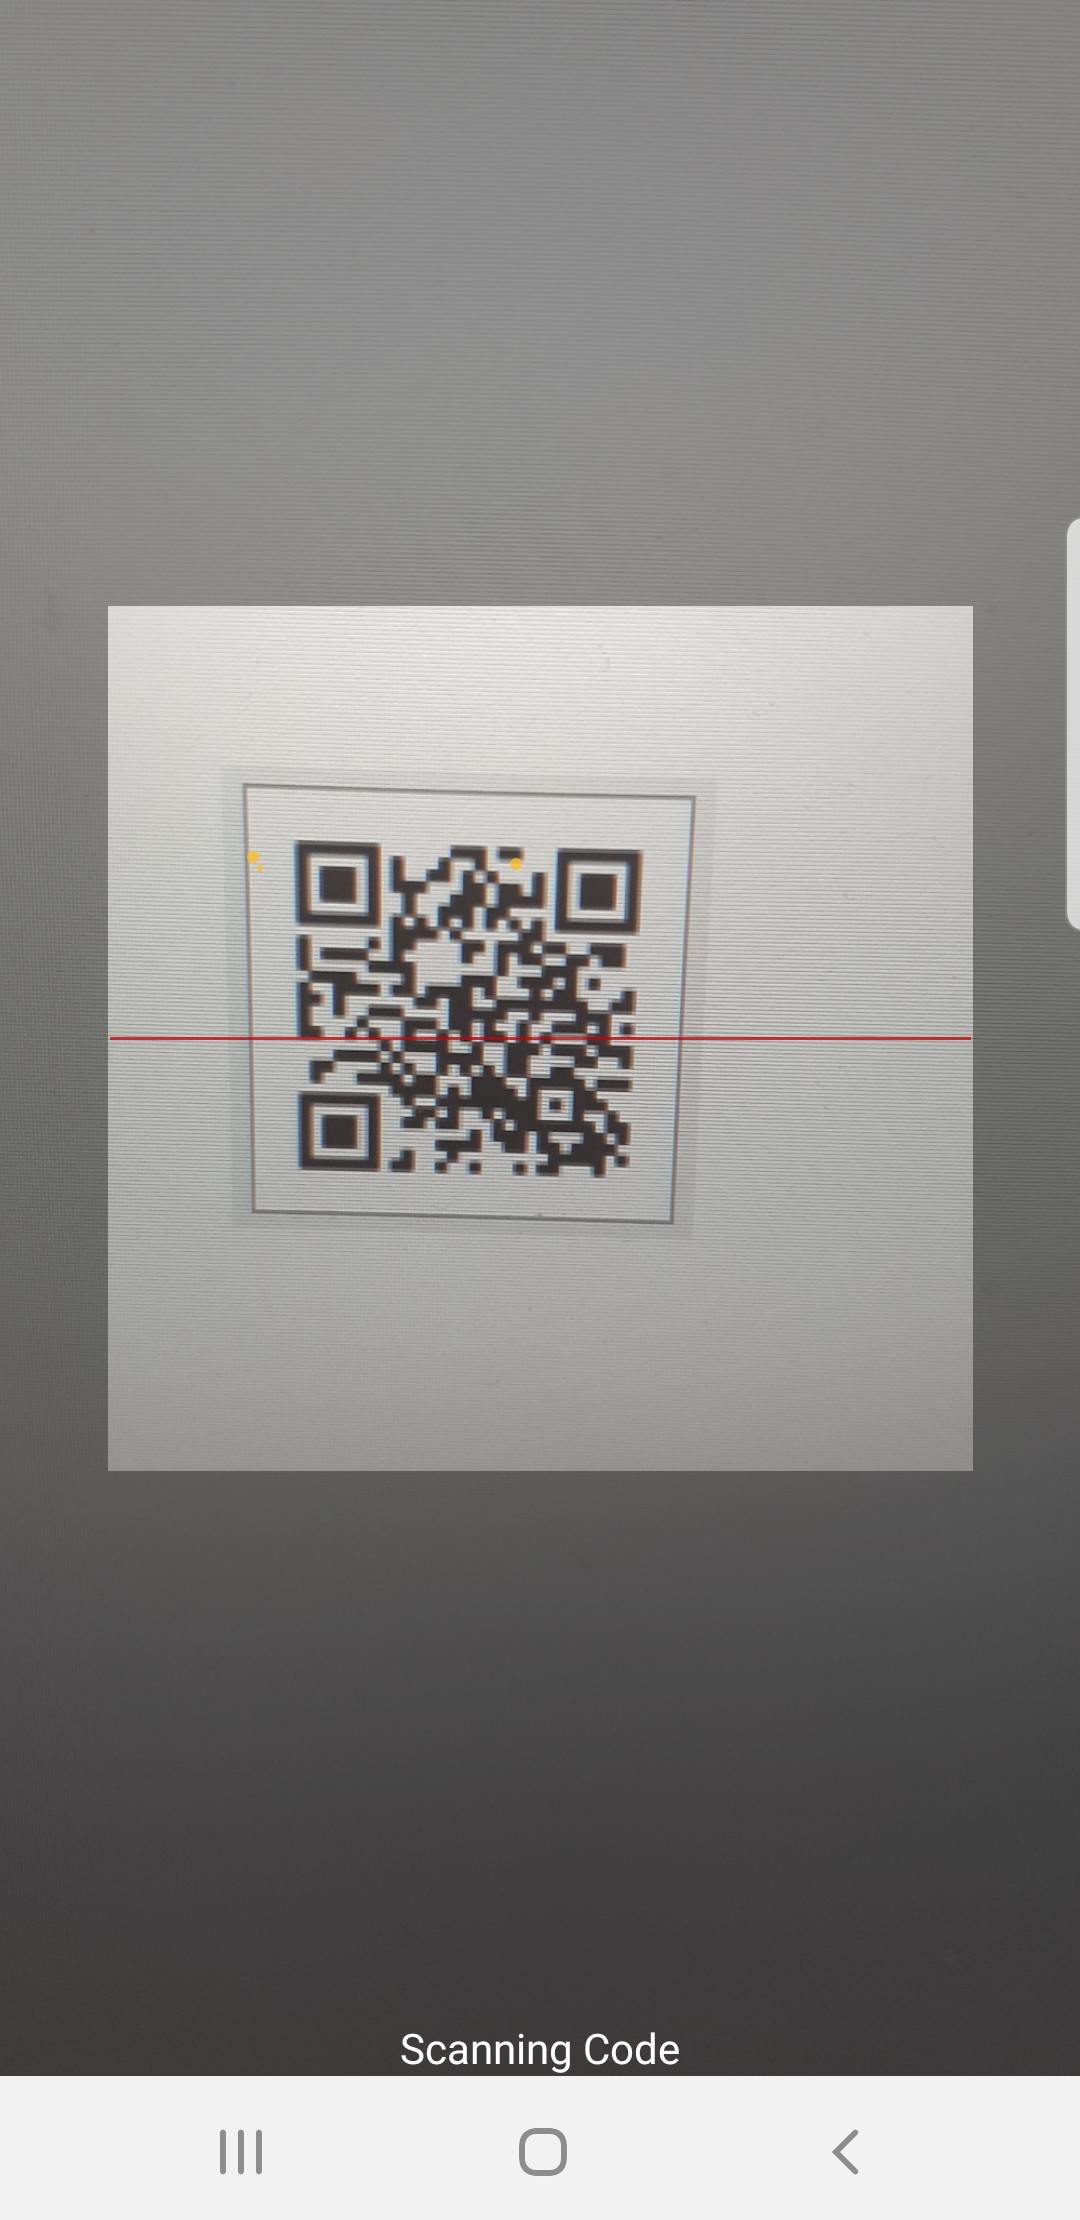
Point your smartphone camera to the qr code now. When it is recognized, you will hear a beep and the next page will open automatically.
The object title of the scanned object is in the heading. Now select a profile into which the attributes will be loaded.
The form is filled with the values of the object from the CMDB. These can now be edited further. It is still possible to use the barcode scanner, e.g. to scan in a different serial number. Then click on “Save” to create a new dataset.
Settings
General
When datasets are saved to local files the naming convention is: “profilename_username_timestamp.csv” or “profilename_timestamp.csv”. Depending on whether the username has been enabled for saving or not.
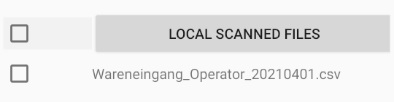
Enable username information
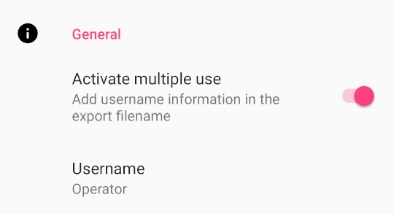
If the slider is moved to the right, the username is included in the file name. In this example, “Operator” is the username.
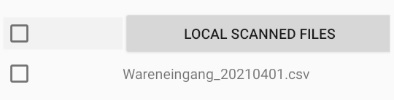
Disable username information

If the slider is moved to the left, the username is not included in the file name.
Data & Sync
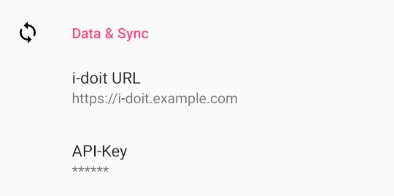
To send and receive data, the access data from your i-doit is required. Enter your i-doit url and the corresponding apikey in the respective fields.
Note
Once the profiles and lists have been saved locally on the device, it is possible to create datasets without an internet connection. They can be transferred to i-doit when an connection is available again.
CMDB Config
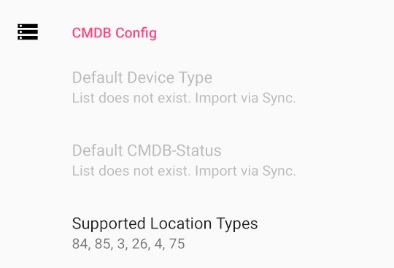
After the app has been installed, no lists are available yet.
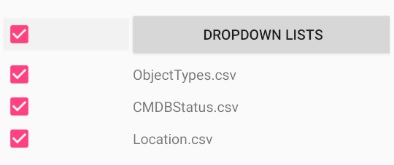
First download all lists under “Dropdown Lists” in Sync.
Note
All available attributes for “Default Device Type”, “CMDB-Status” and “Default Location Types” are obtained from your i-doit CMDB. If you make changes to these values, we recommend updating the lists in the app.
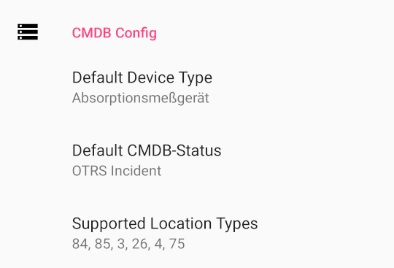
After that all available lists are displayed under CMDB Config.
Warning
It is only possible to create datasets after the lists “ObjectTypes.csv and CMDBStatus.csv” have been downloaded.
Default Device Type
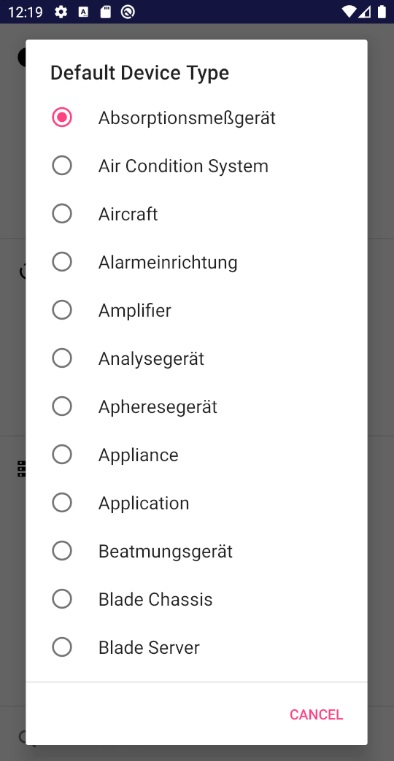
Under “Default Device Type” all object types of your CMDB are provided for selection.

The default value is used for all forms where datasets are created. Like for example in “Scan”.
Default CMDB Status
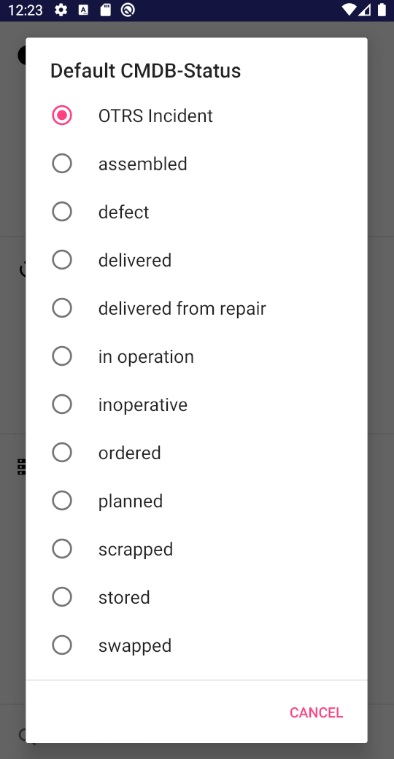
Under “Default CMDB Status” all available CMDB statuses of your CMDB are provided for selection.

The default value is used for all forms where datasets are created. Like for example in “Scan”.
Supported Location Types
The list “Supported Location Types” serves as a tool for an autocomplete. This is used in forms for the creation of data sets, e.g. in “Scan”. Here all numbers of the required location object types are specified. For example 84 for country. If you enter single letters or words in the text field location, this autocomplete helps you with suitable locations that can be selected.

After installation these object type ids are automatically set as default. (84 = country, 85 = city, 3 = building, 26 = room, 4 = rack, 75 = blade chassis)

These location object type ids can be modified individually. Make sure that there is a space after the comma.
Warning
After each change, the list must be downloaded again so that the changes are applied.
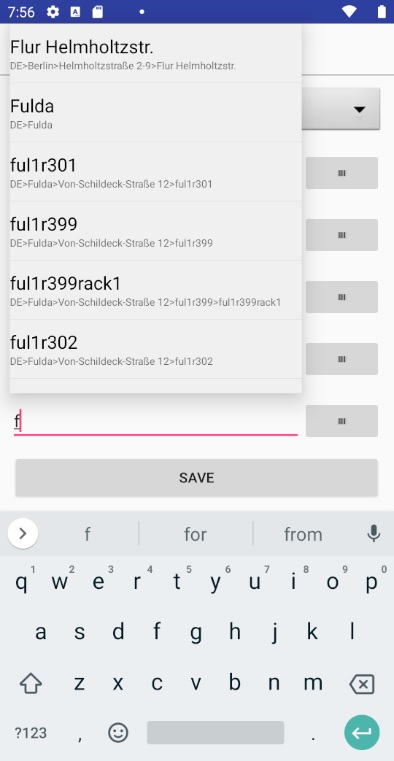
In the text field of location you can now manage your locations with the help of the autocomplete. The complete path of the respective location is displayed for your overview.
i-doit Search
In the online i-doit search in Datastore, a table with the search hits is displayed. Here you can specify the maximum number of search results.

After installation the default value is set to 25.
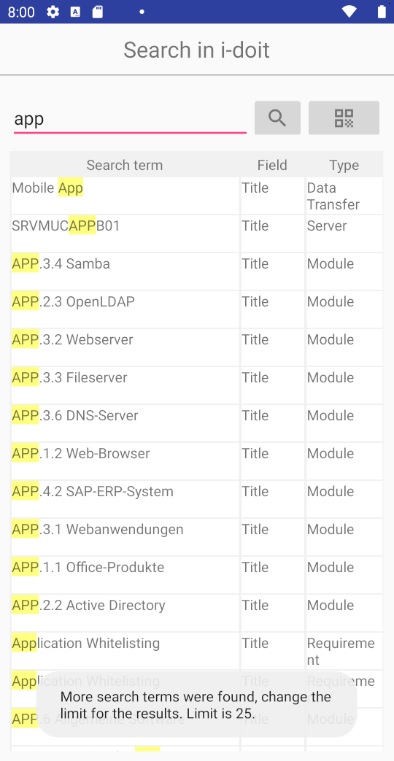
In i-doit search, a notice appears if there are more results than the maximum that should be displayed.